Five steps to get started
Install the Checkify app, create your identity, then follow these steps in Settings. The same business account also works on checkify.me.
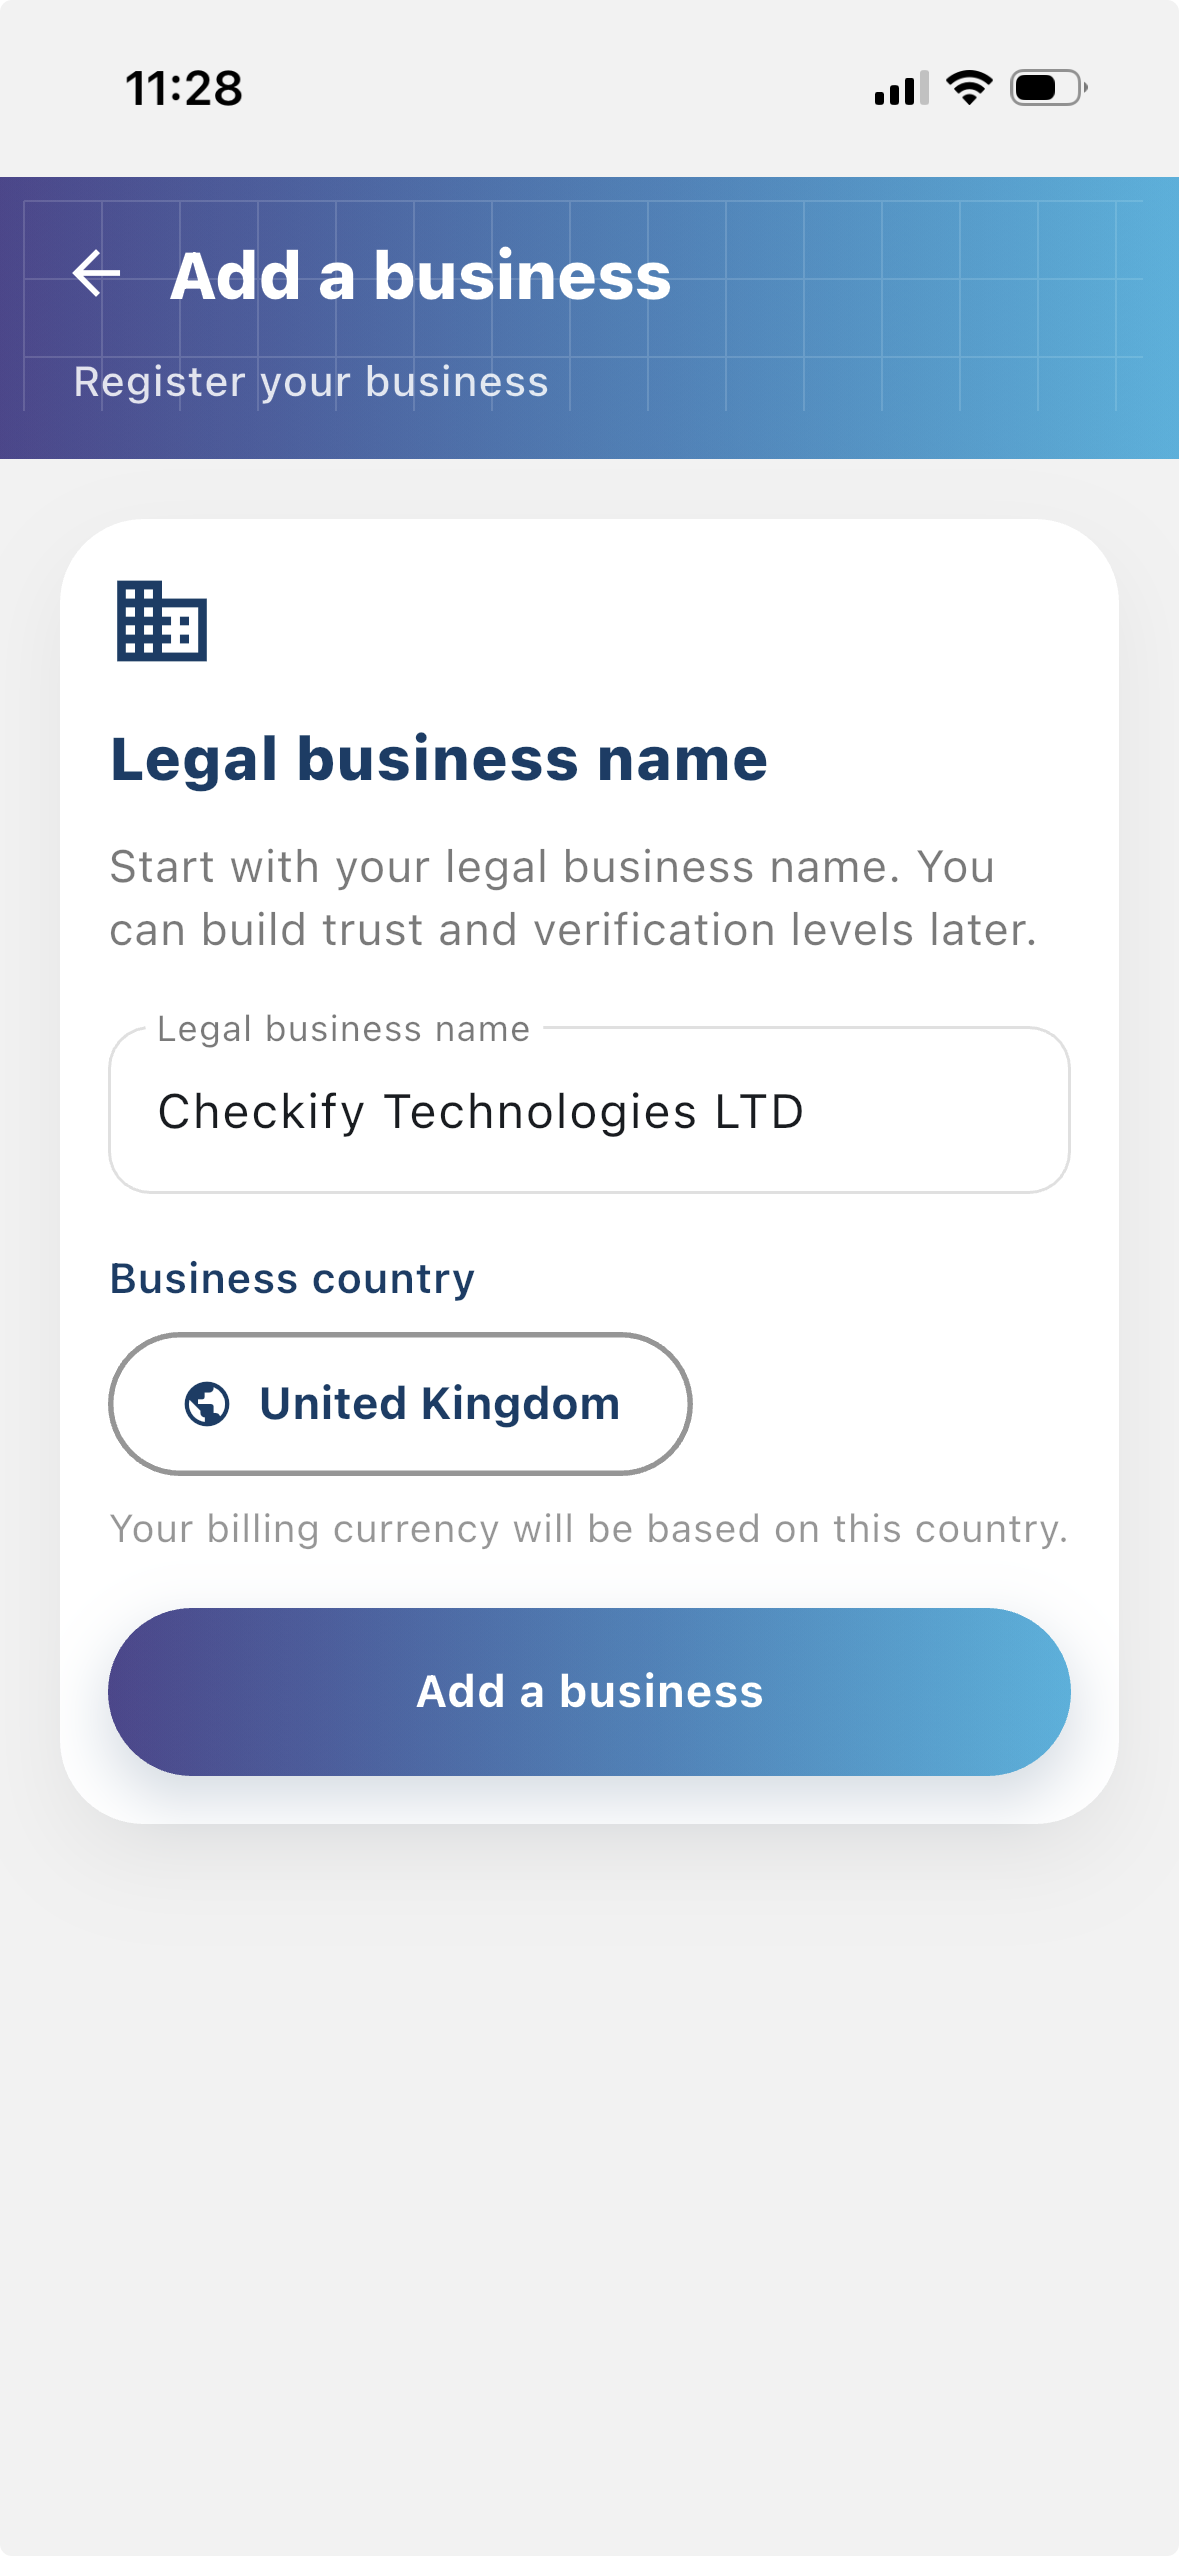
단계 1
업체 등록
사용자가 인증을 요청하는 사람이 누구인지 확인할 수 있도록 업체를 등록하세요. 등록된 비즈니스는 Checkify 흐름에 더 많은 컨텍스트를 제공하고 사용자와의 신뢰 구축에 도움이 됩니다.
단계 2
설정 - 사이트 추가
사이트는 Checkify Passes가 생성되고 사용되는 곳입니다. 이는 웹사이트, 앱, 결제 흐름, 예약 흐름, 실제 장소, 리셉션 데스크, 카운터 또는 기타 실제 위치일 수 있습니다.
단계 3
Checkify Pass 만들기
A Checkify Pass는 사이트에 대해 생성한 증거 요청입니다. 18세 이상 사람의 검증, 특정 행위에 대한 승인 등 사용자가 증명하기를 원하는 내용을 정의합니다.
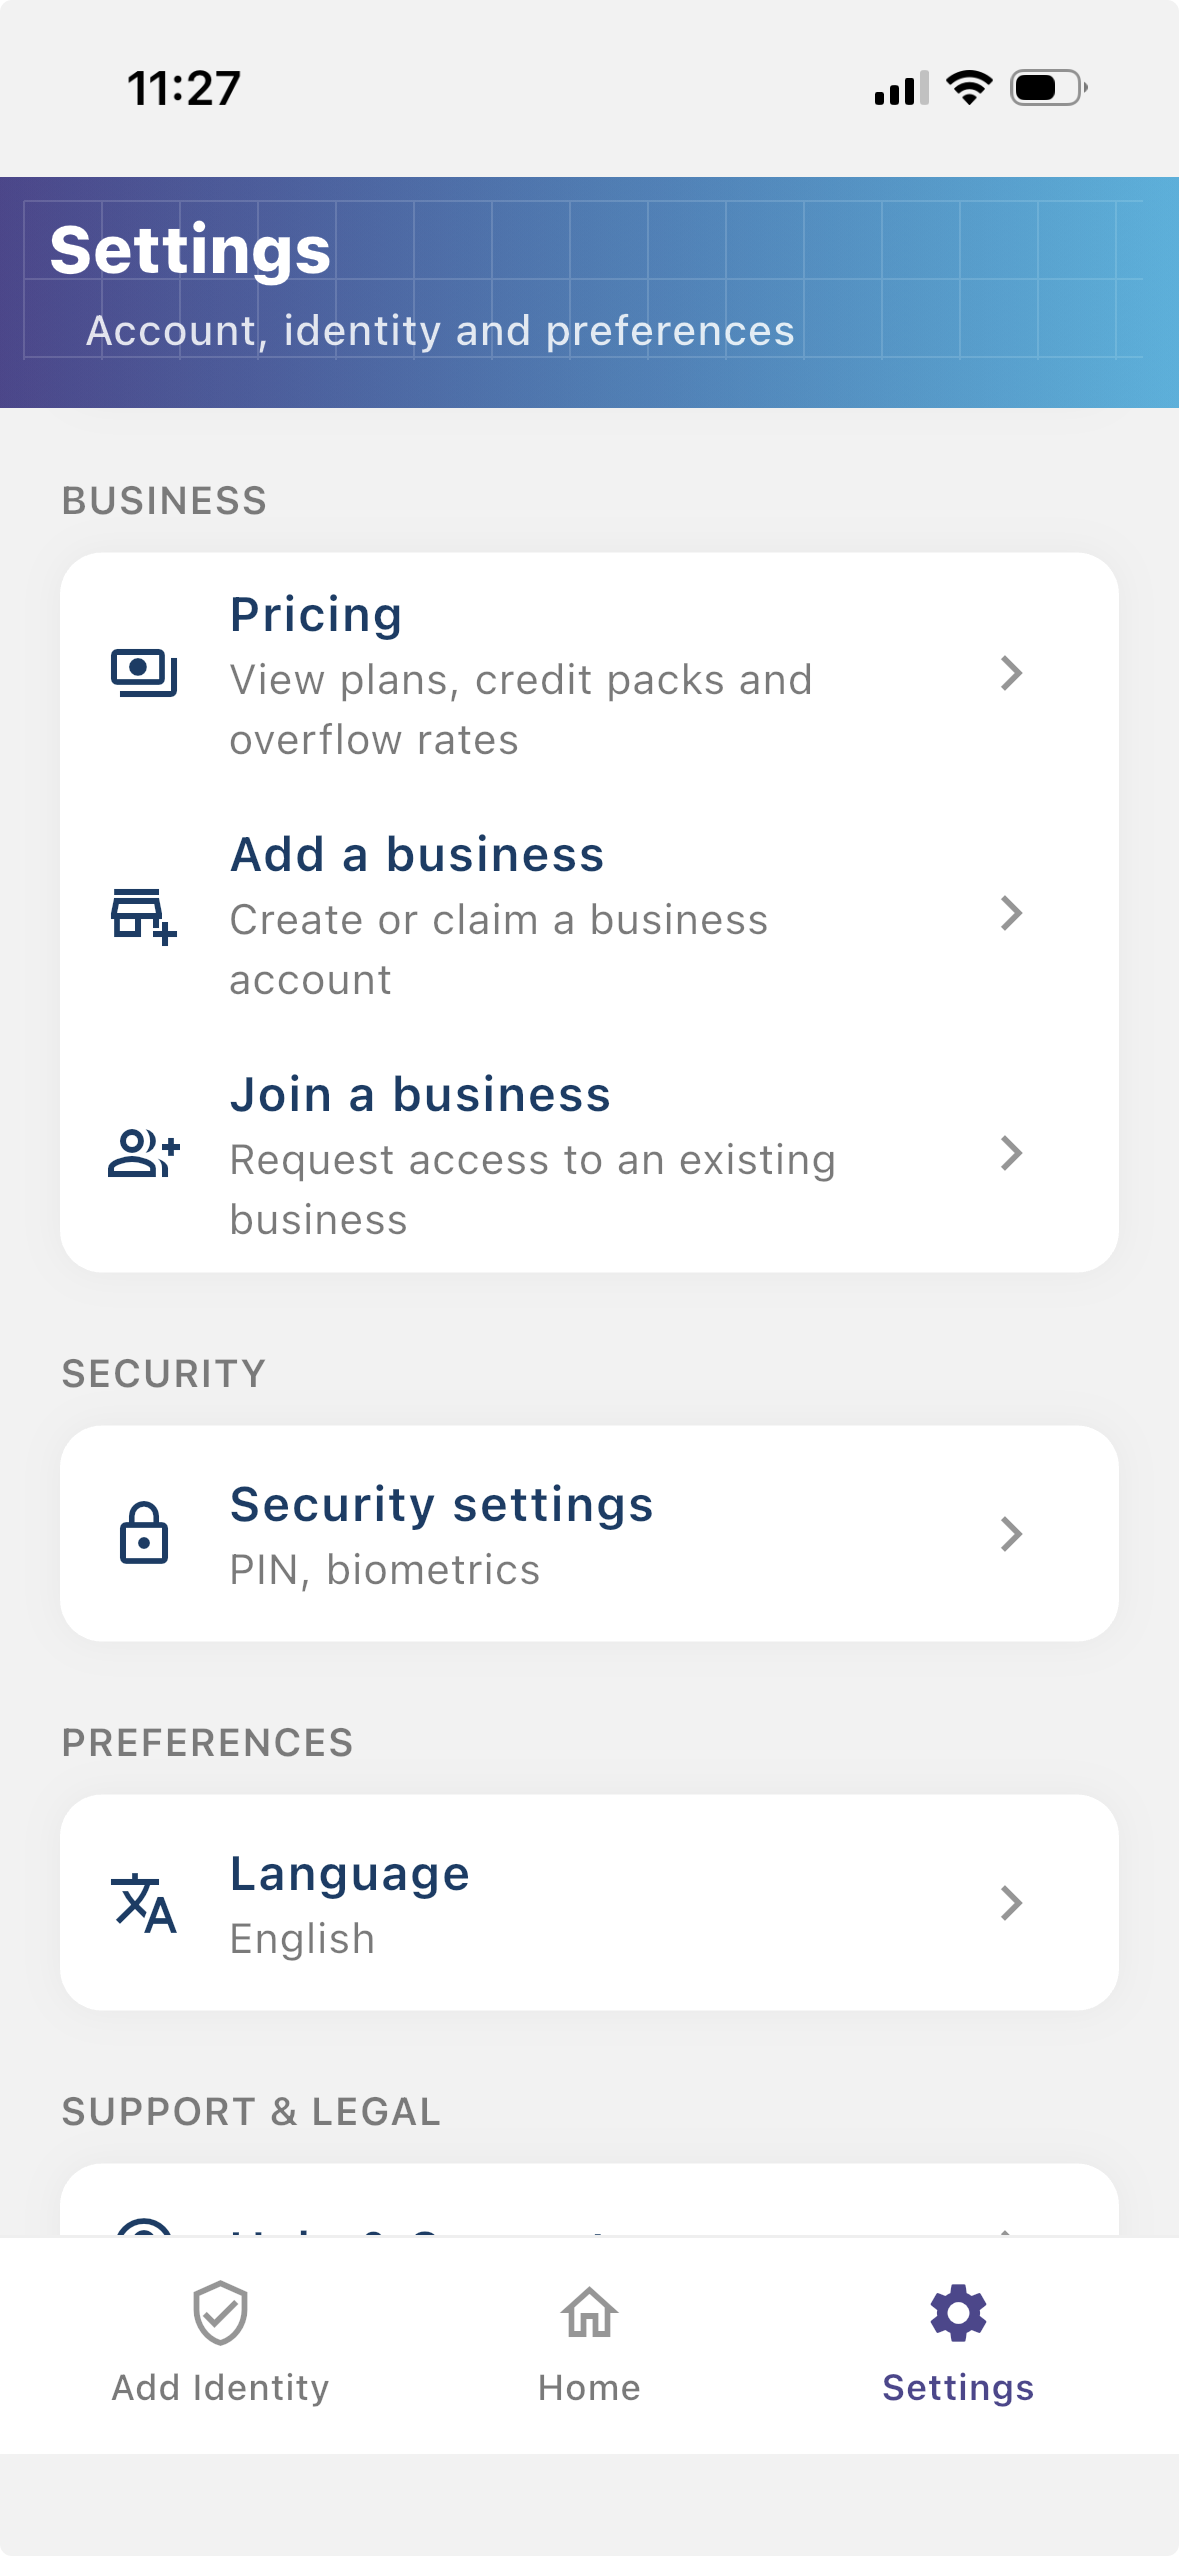
From the business menu you can:
- Activate the business and set it as your active account
- View credits and billing under Settings
- Open Manage sites when you are ready to add a website or location
단계 4
통합에서 패스 ID 사용
Go to Settings → Manage sites. Here you add websites, apps, or physical locations where Checkify Passes will be used.

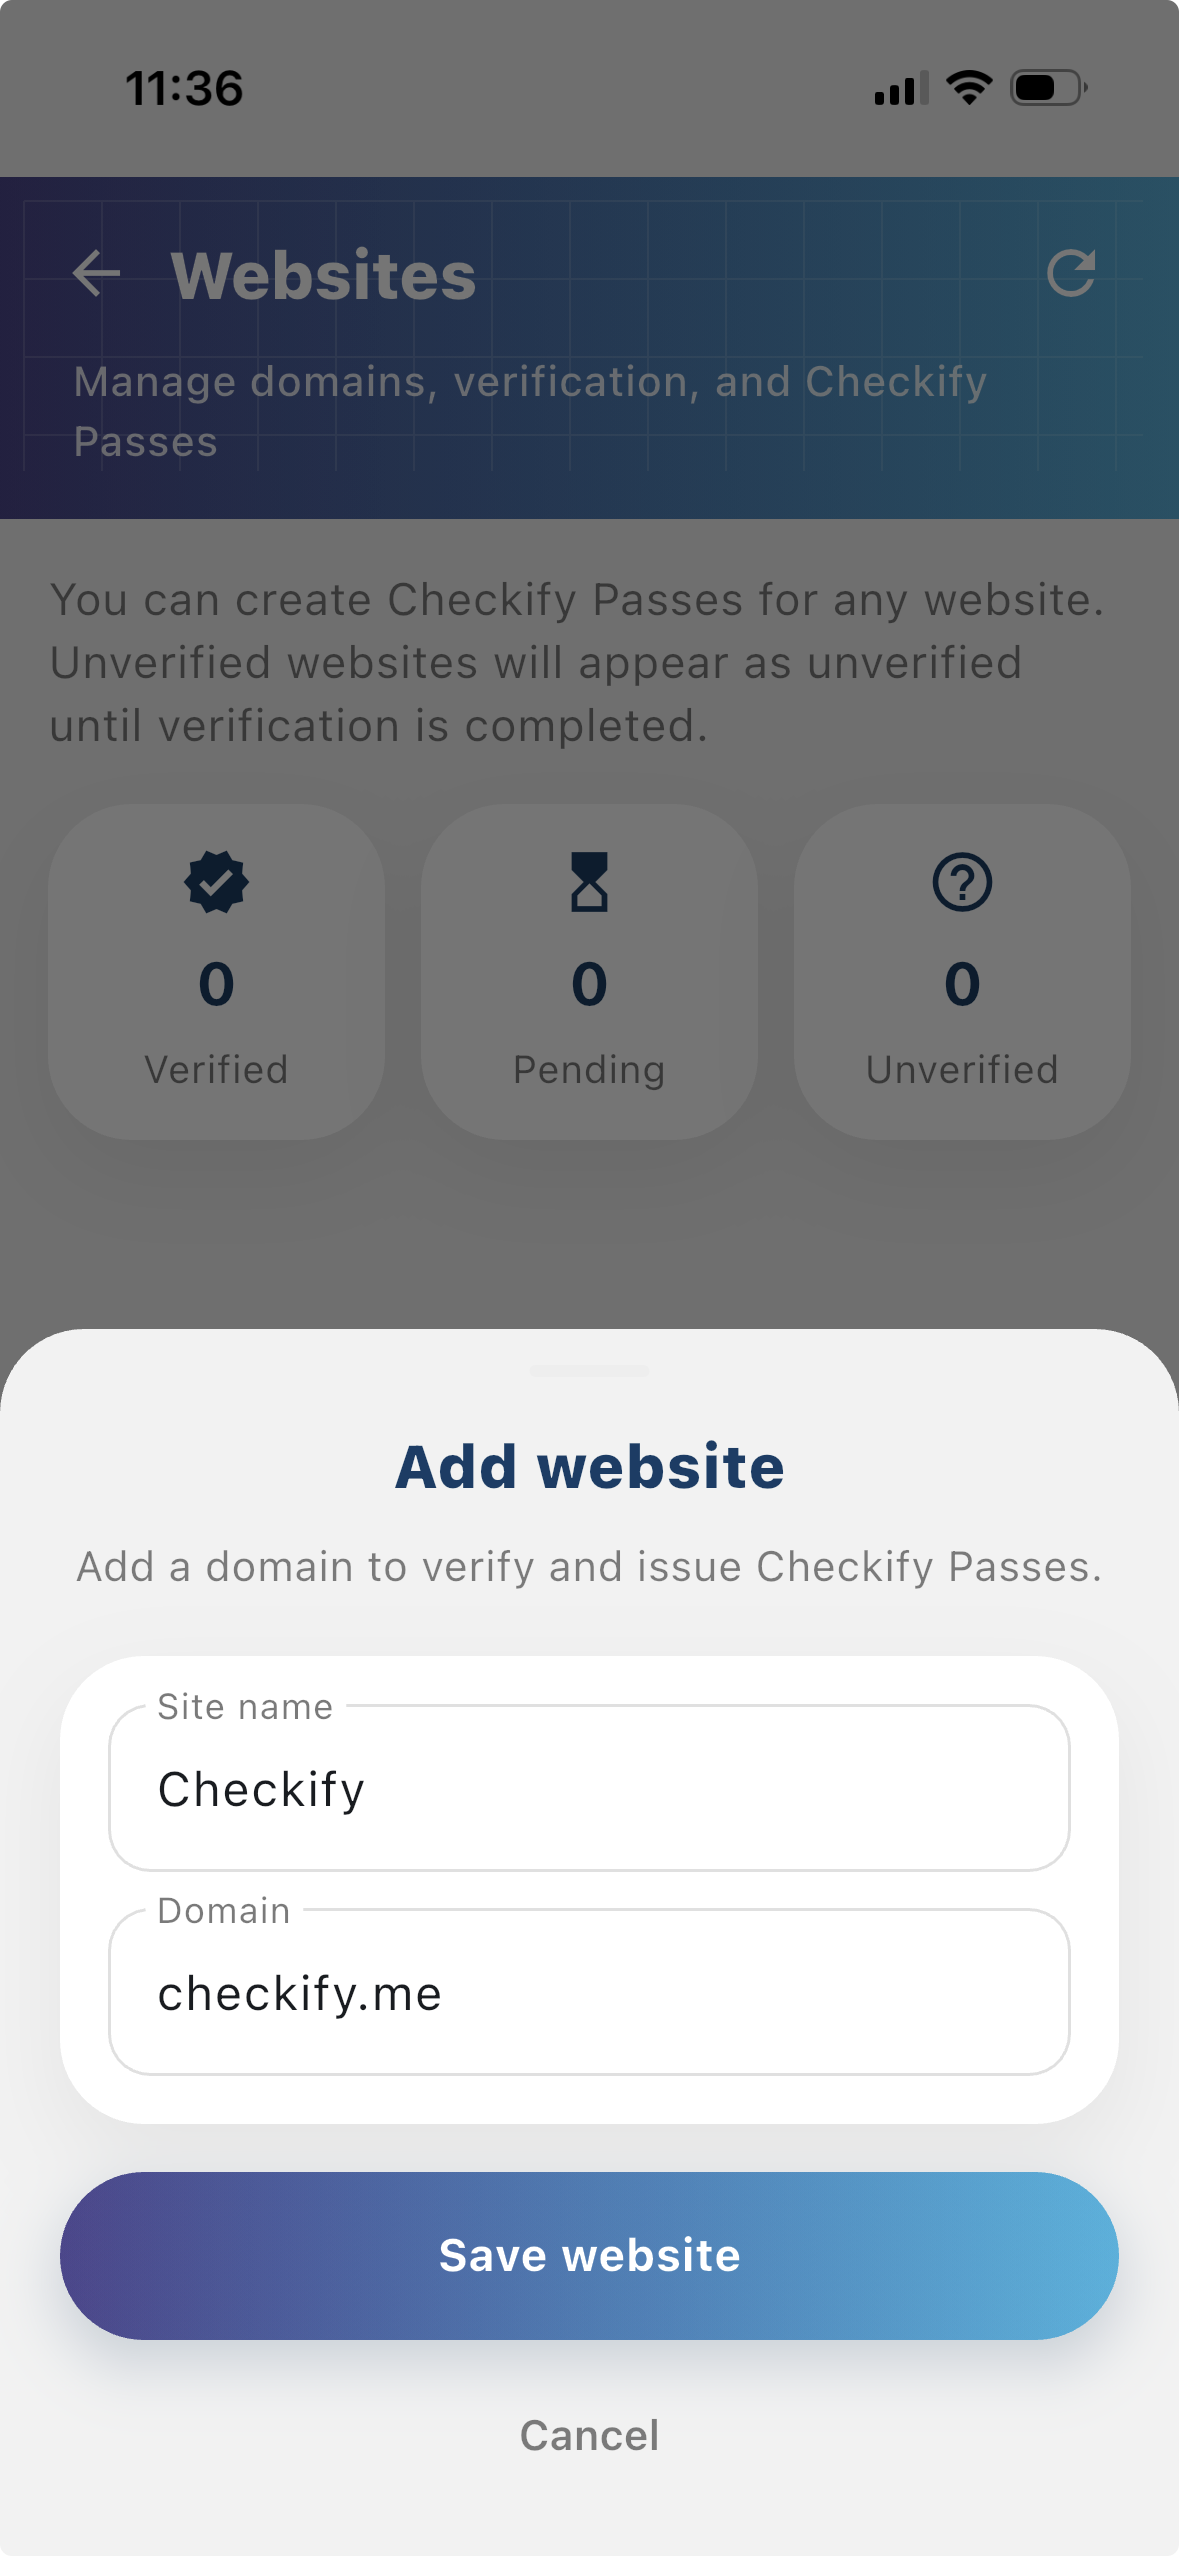
단계 5
Add a site
Tap to add a website or physical location. Checkify auto-provisions one Pass per site. If this is your first site, choose overflow billing and save a card when prompted — you are not charged upfront.
New businesses get 100 free credits on sign-up. These are applied automatically when your business is created.
When you add your first site, you may be asked to add payment details for overflow billing. You will not be charged until your free startup credits are used up and any overflow credits are consumed.