Five steps to get started
Install the Checkify app, create your identity, then follow these steps in Settings. The same business account also works on checkify.me.
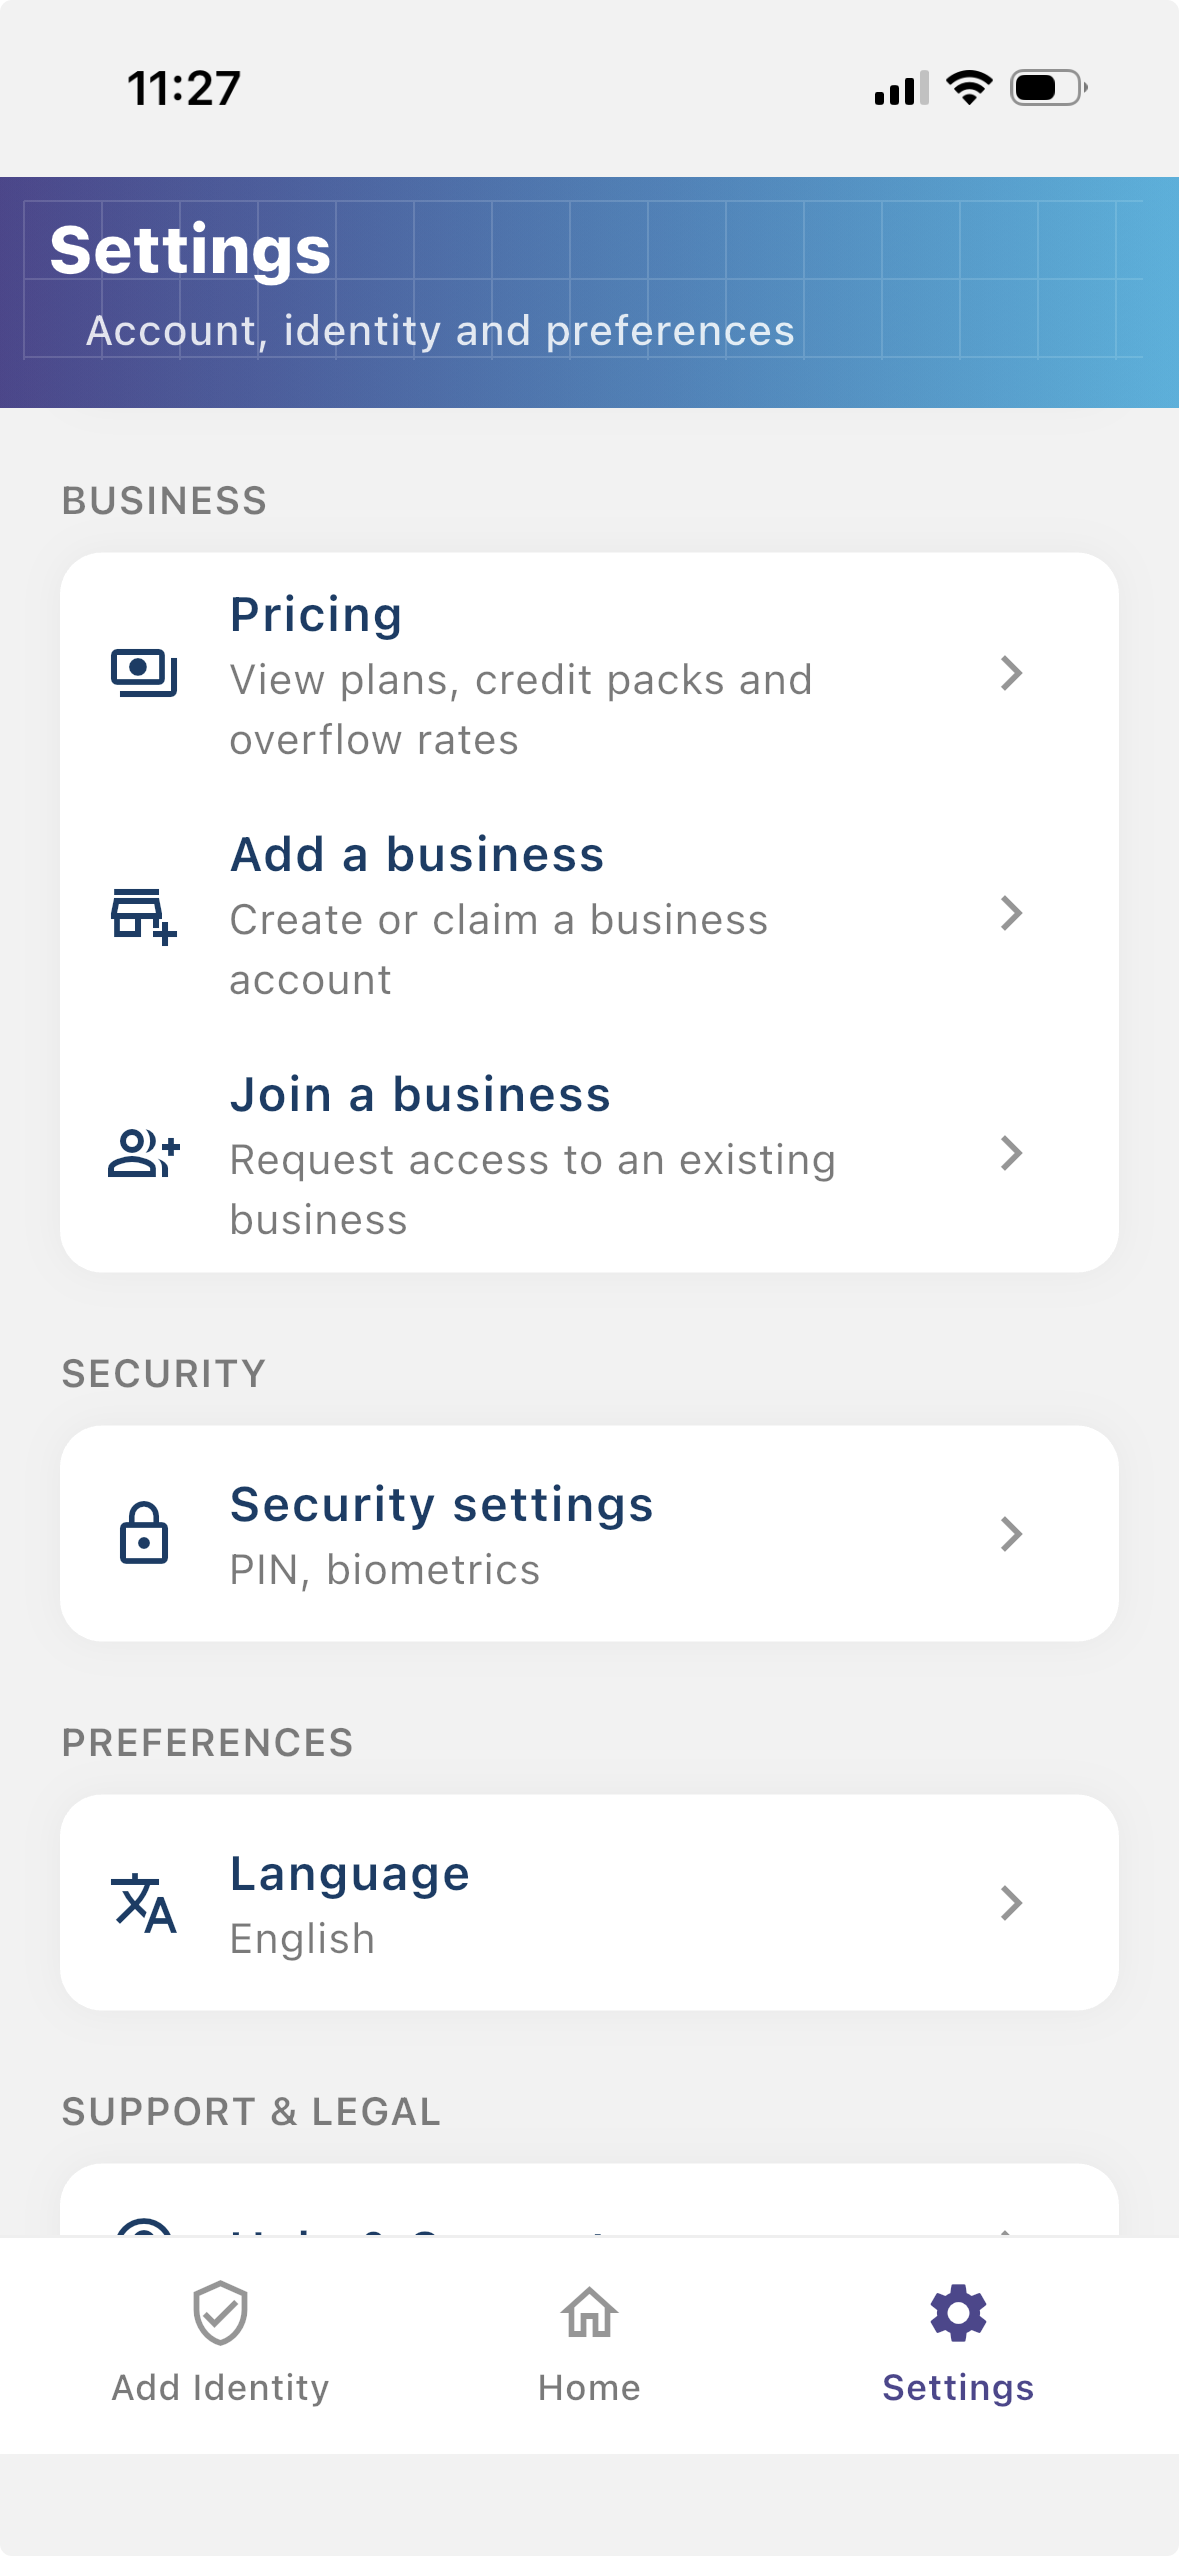
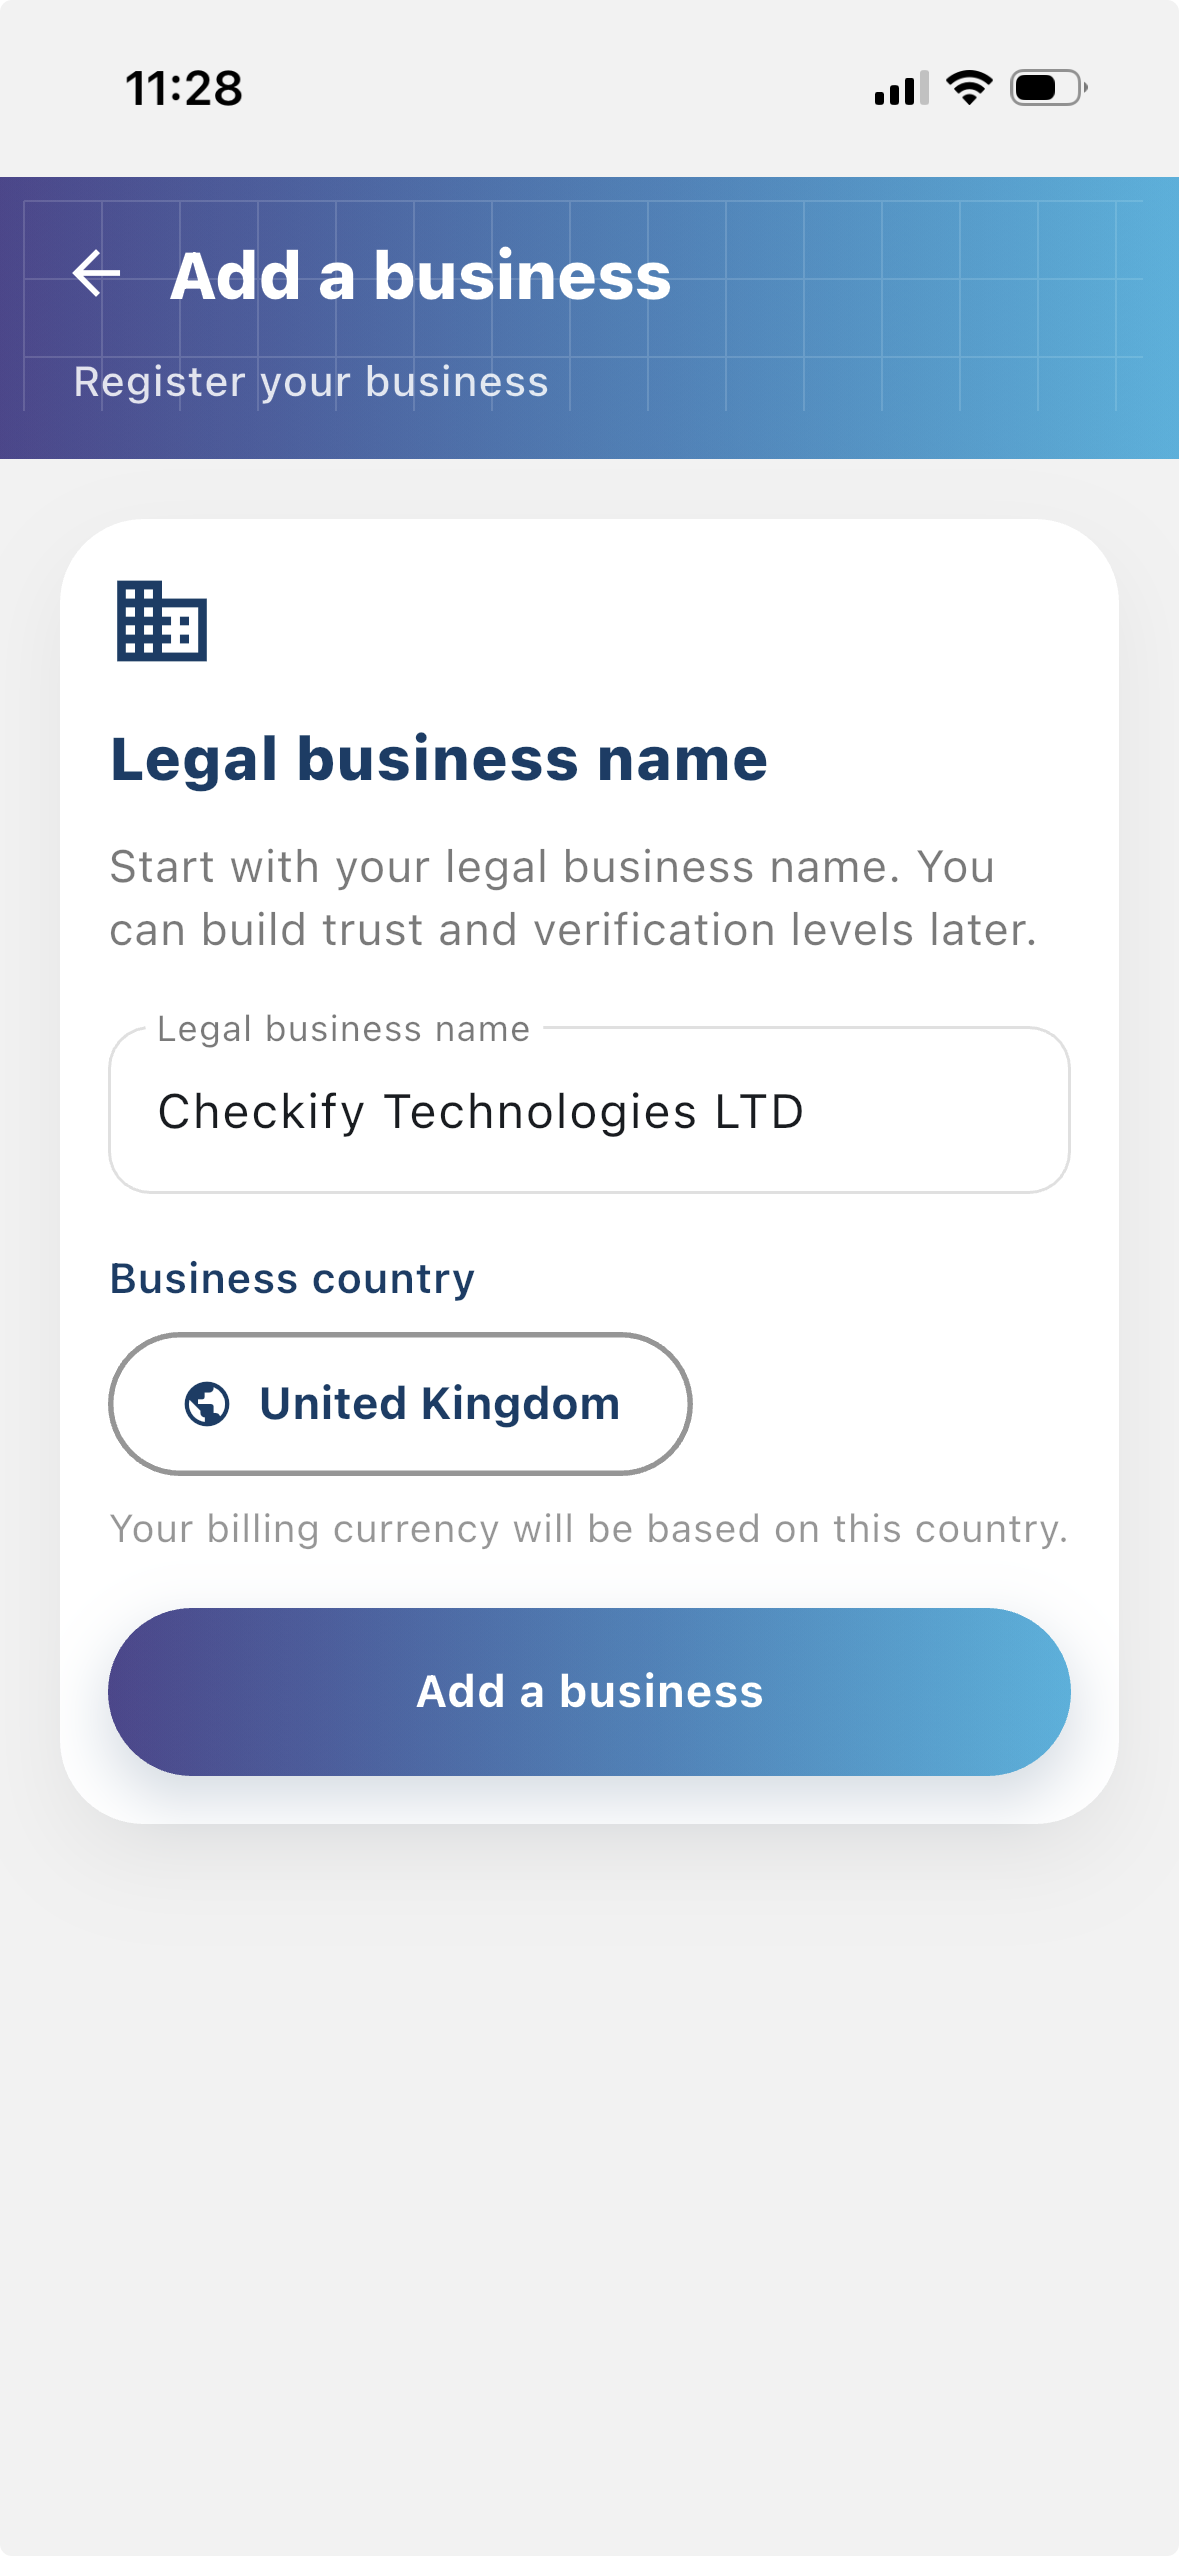
Step 1
Add business
Open Settings in the Checkify app and tap Add business. Choose your business country to set local pricing.
Step 2
Add your legal business name
Enter your legal business name and confirm your details. This is the name users see when your business requests verification.
Step 3
Manage business
Finish setup, activate your business, and switch to it from the business menu when you are ready to manage sites and billing.
From the business menu you can:
- Activate the business and set it as your active account
- View credits and billing under Settings
- Open Manage sites when you are ready to add a website or location
Step 4
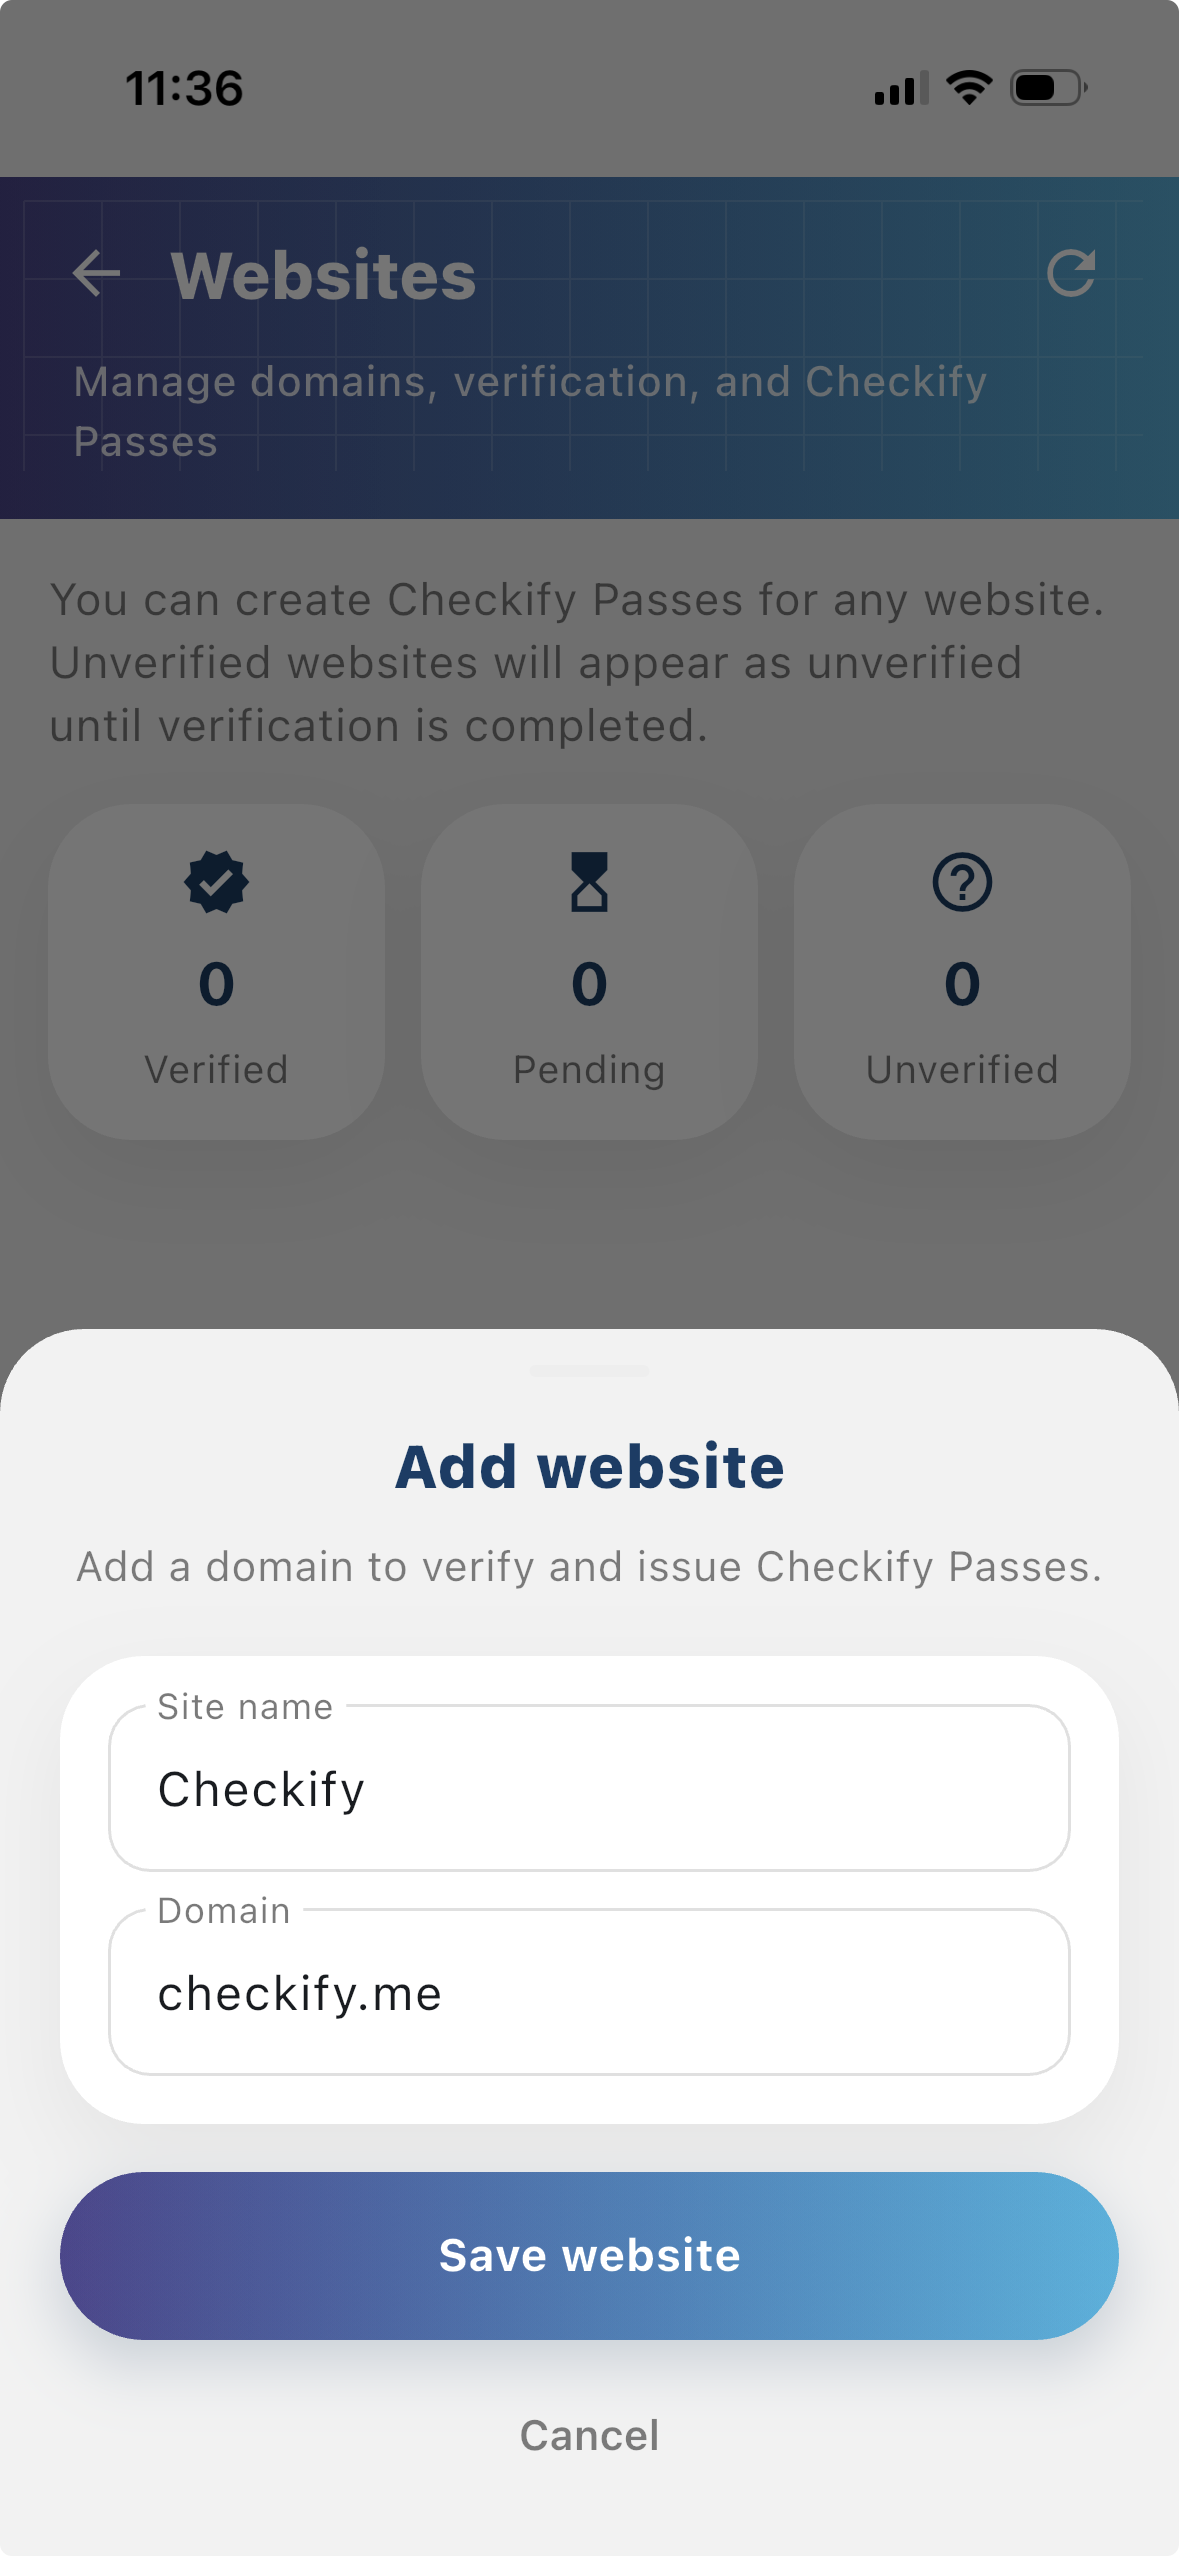
Manage sites
Go to Settings → Manage sites. Here you add websites, apps, or physical locations where Checkify Passes will be used.

Step 5
Add a site
Tap to add a website or physical location. Checkify auto-provisions one Pass per site. If this is your first site, choose overflow billing and save a card when prompted — you are not charged upfront.
New businesses get 100 free credits on sign-up. These are applied automatically when your business is created.
When you add your first site, you may be asked to add payment details for overflow billing. You will not be charged until your free startup credits are used up and any overflow credits are consumed.