Checkify
WordPress integration

Add Checkify Passes to your WordPress site.

Install the Checkify WordPress plugin, connect your site by scanning a QR code, then choose where your Checkify Pass should appear.

Connect once. Use Checkify Passes across your site.

Use Checkify with WooCommerce checkout, signup gates, forms, comments, or custom pages. Create a site in the business dashboard or app, copy your Pass ID, then paste it into the WordPress plugin.

Start with one gate, such as WooCommerce checkout or signup, then expand when ready.

WordPress plugin flow
Install → Connect → Choose gate → Add Pass ID
Plugin
Example gates
WooCommerce checkout gate Supported
Signup gate Supported
Forms and custom selectors Flexible
Checkify Pass ID Required
1
Install plugin
2
Connect site
3
Add Pass ID
QR
site connection
Pass ID
used in gates
Overview

How the WordPress plugin works

The plugin connects your WordPress site to Checkify, then lets you choose where Checkify Passes should be shown.

1

Install the plugin

Add Checkify from your WordPress admin panel or upload the plugin ZIP provided by Checkify.

2

Connect your site

Open Checkify in the WordPress left panel and scan the QR code to connect your site to Checkify.

3

Choose your gate

Select the gate you need, such as WooCommerce checkout, signup, login, forms, or custom selectors.

Official downloads

Download Checkify WordPress plugins

Install only from these checkify.me URLs. Each ZIP includes a SHA-256 checksum so you can verify the file before uploading to WordPress.

Checkify Connector

v1.2.1

Required for every Checkify WordPress integration. Connect your site, store your Pass ID, and power satellite plugins.

Download Checkify Connector
SHA-256 checksum
fa62bdfc3c628e627524cf6eabcd0af92babff76ac378d0b837e081fd215e432

After downloading, run: shasum -a 256 your-file.zip (macOS/Linux) or CertUtil -hashfile your-file.zip SHA256 (Windows). The hash must match exactly.

Download SHA256SUMS.txt

Checkify for WooCommerce

v1.2.11

Age verification for WooCommerce checkout, cart, or your entire storefront. Requires Connector and WooCommerce.

Download Checkify for WooCommerce
SHA-256 checksum
449cf6b20d012203a31d5d97ad143a94306baa6a106a318e79a2592cfca828d5

After downloading, run: shasum -a 256 your-file.zip (macOS/Linux) or CertUtil -hashfile your-file.zip SHA256 (Windows). The hash must match exactly.

Download SHA256SUMS.txt

Also available on WordPress.org

WordPress setup steps

Connect WordPress to Checkify.

Follow these steps to install the plugin, connect your site, choose your gate, and add your Checkify Pass ID.
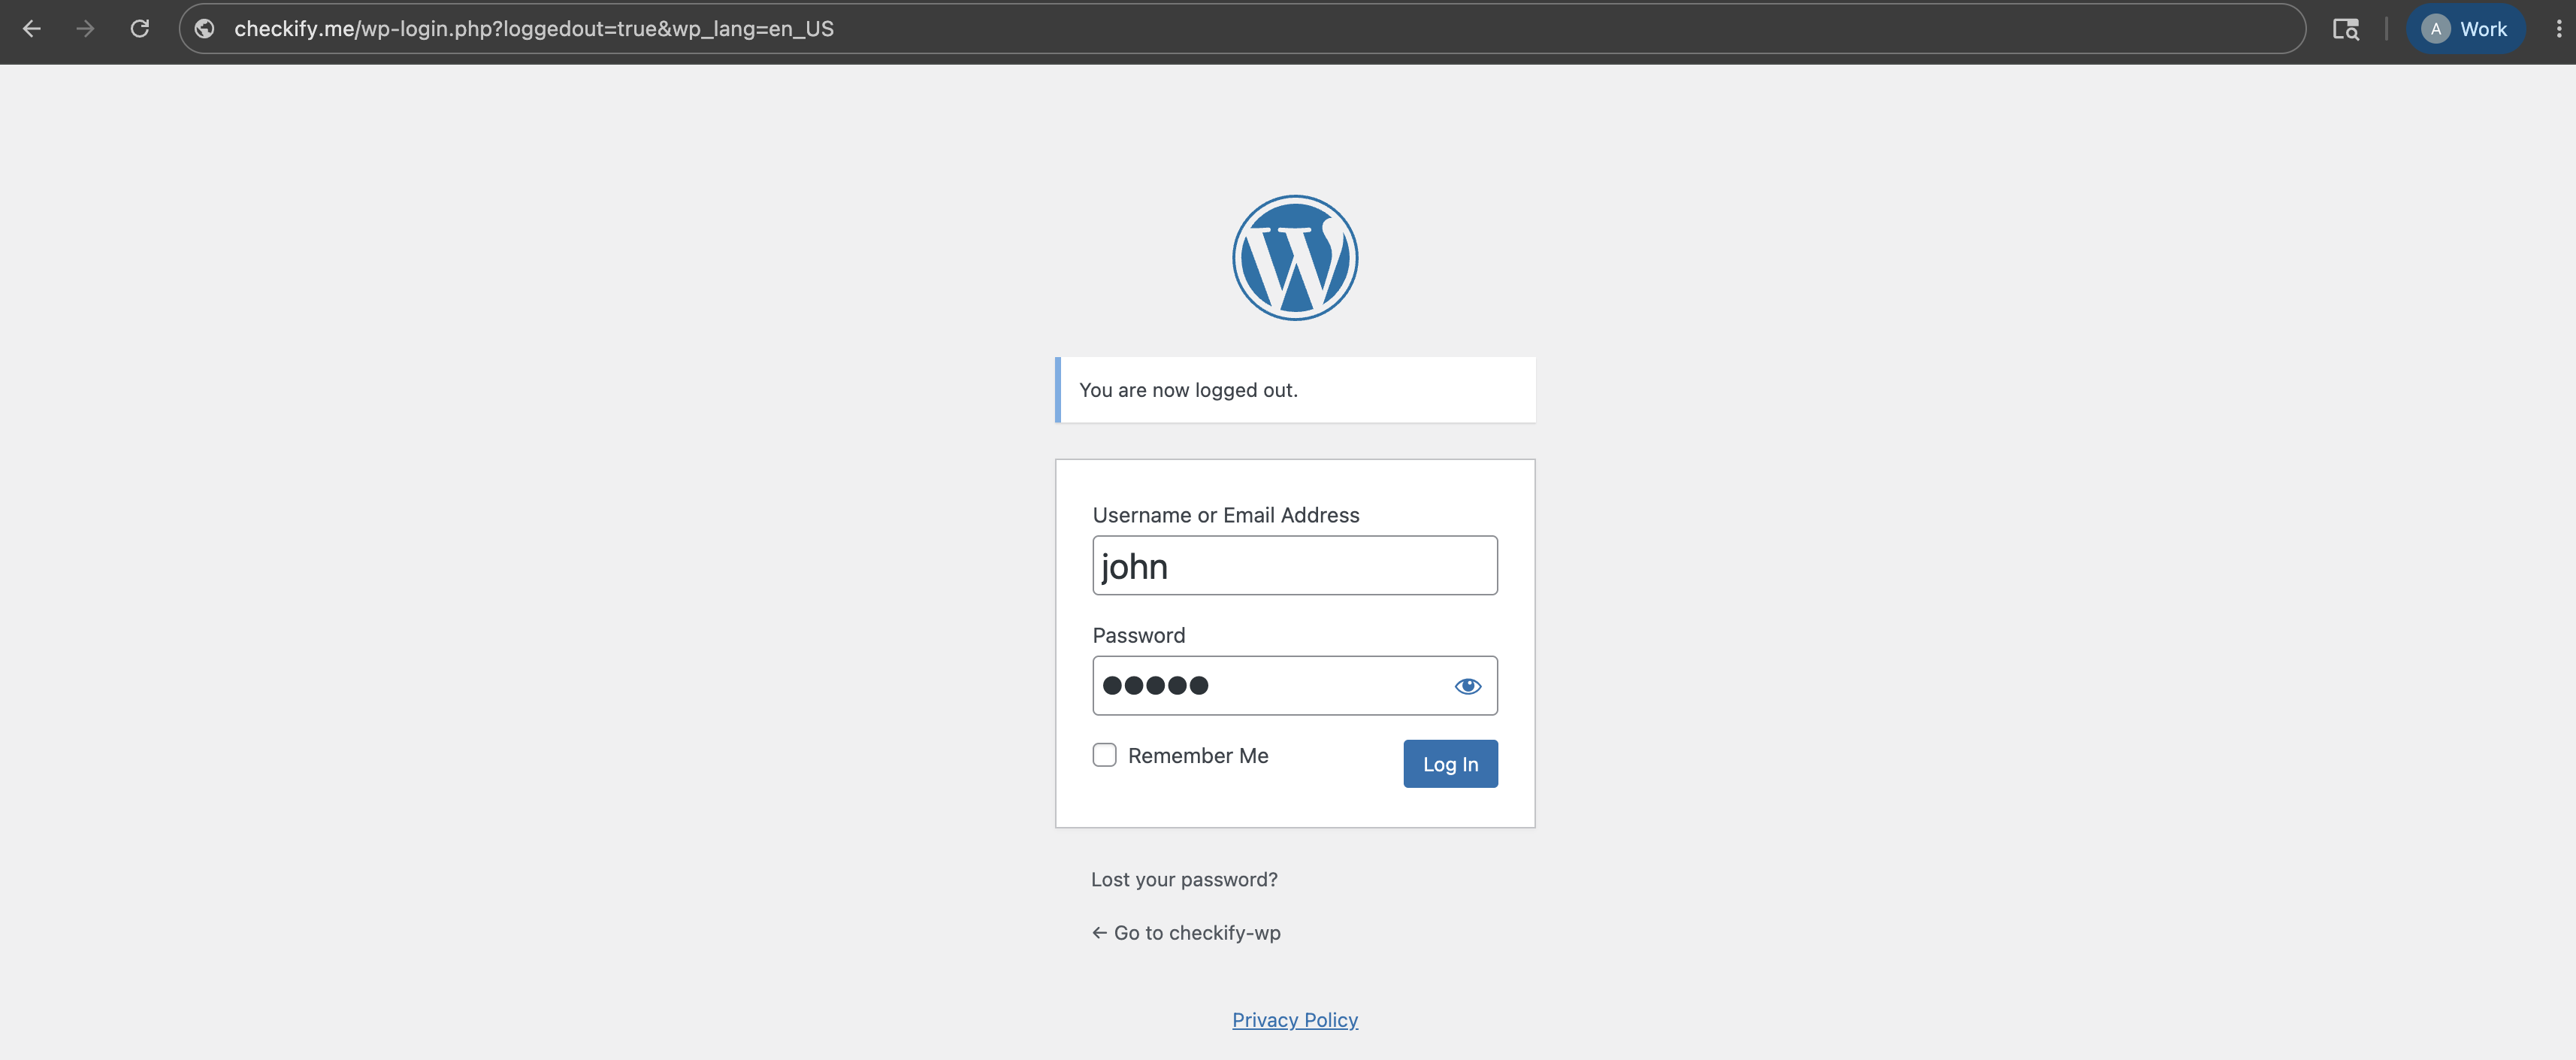
Step 1

Log in to your WordPress admin panel

Start by logging in to your WordPress admin dashboard. This is usually found at your website address followed by /wp-admin.
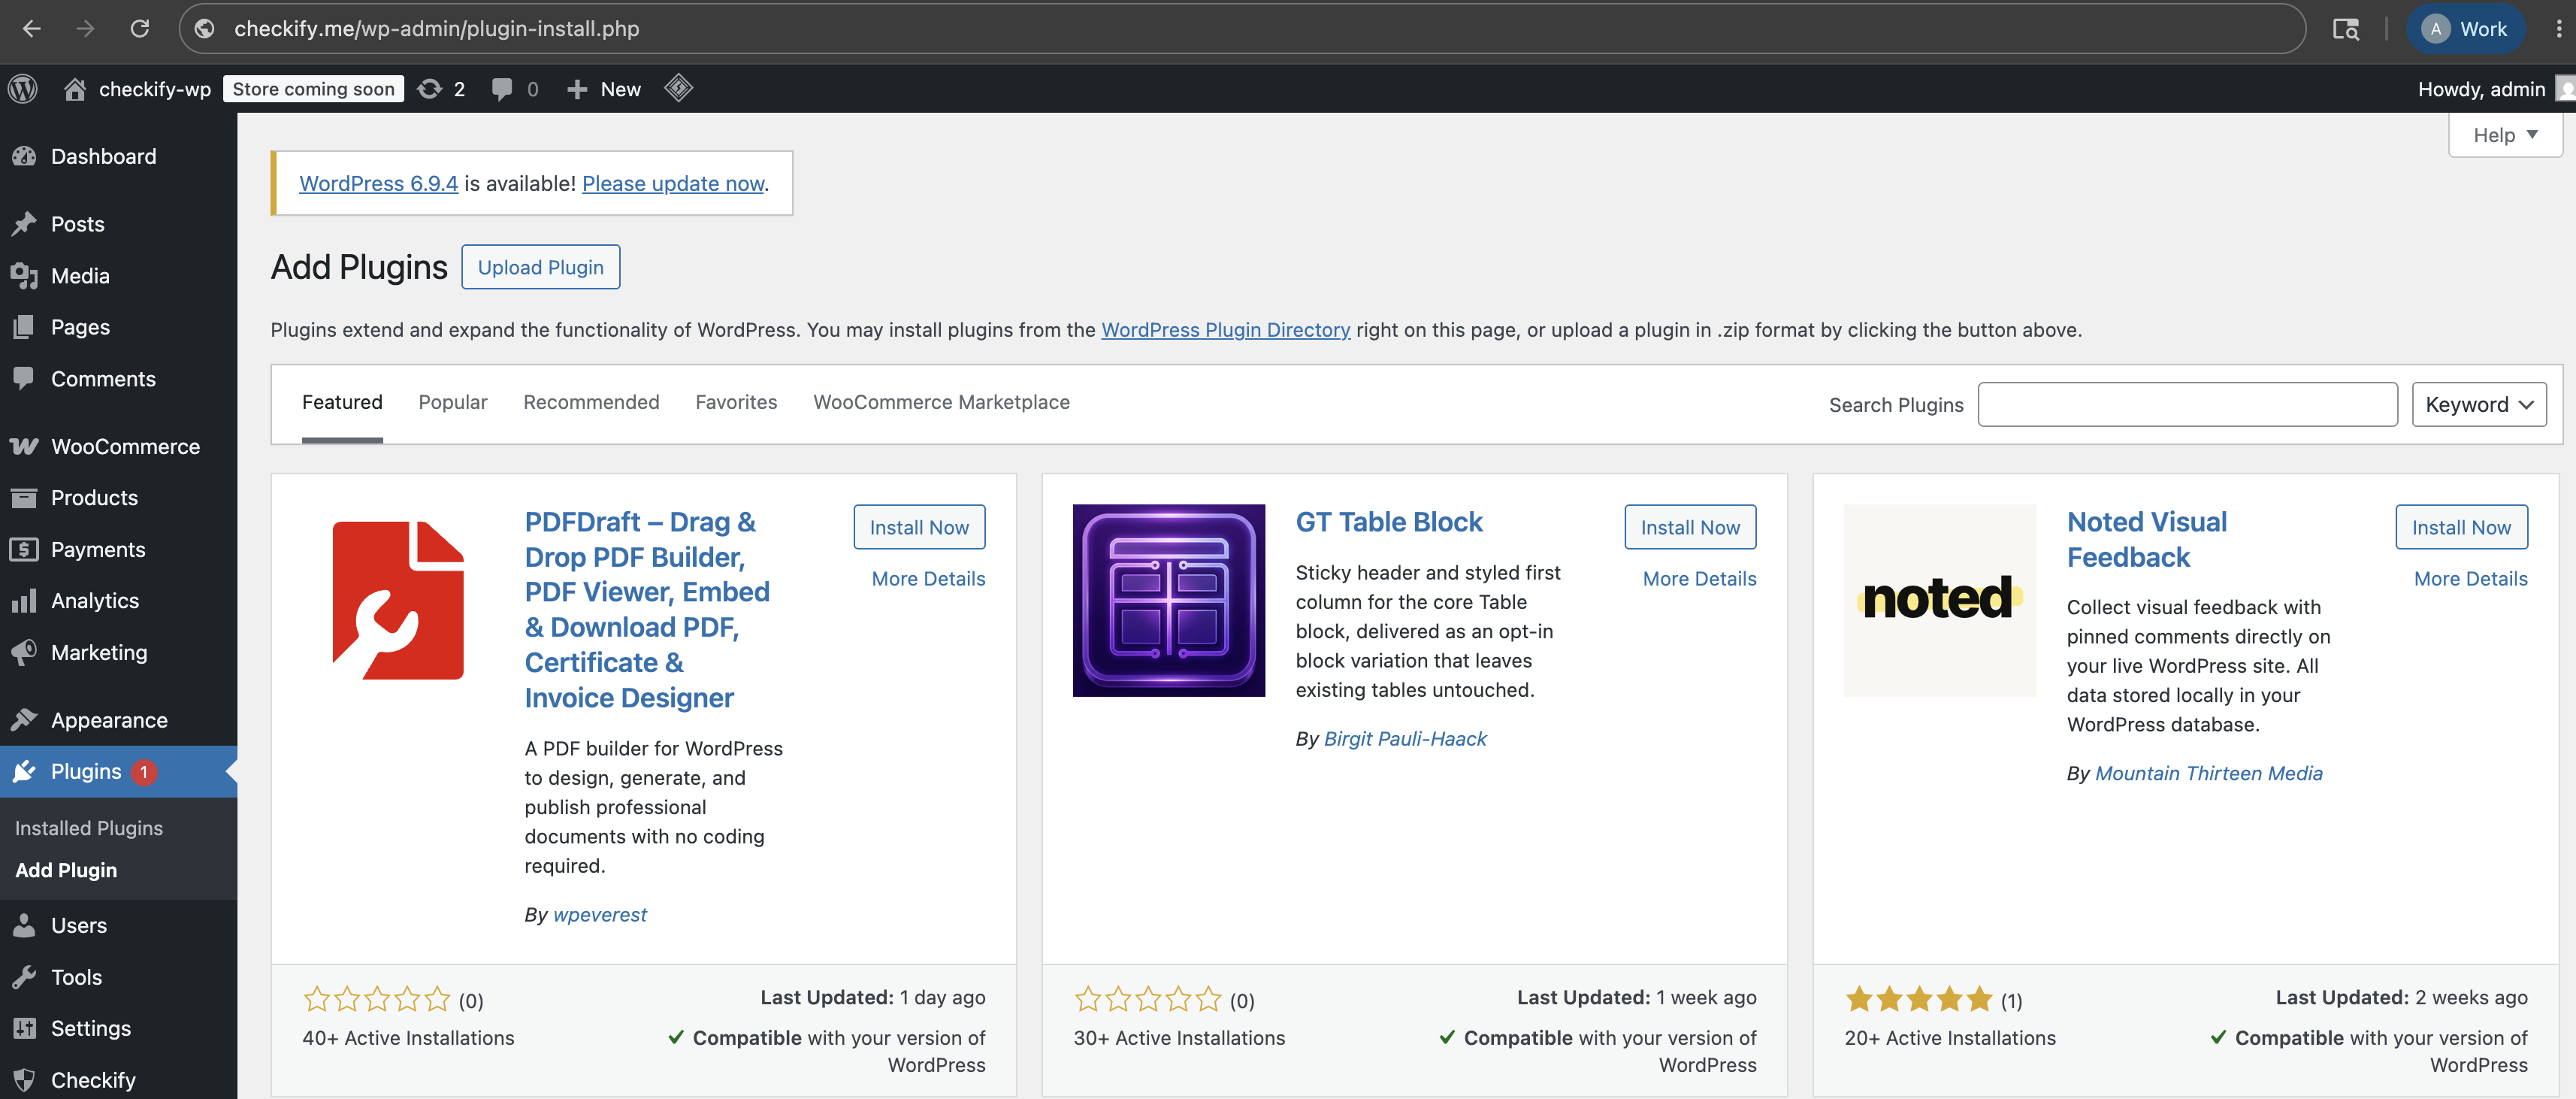
Open your WordPress dashboard.
Make sure you are logged in as an administrator.
Outcome: WordPress admin opened
WordPress admin login

Step 2

Go to Plugins, then Add Plugin

In the left-hand WordPress menu, open Plugins, then choose Add Plugin.

Select Plugins from the left menu.
Click Add Plugin to install a new plugin.
Outcome: Plugin install page opened
WordPress add plugin

Step 3

Download Checkify Connector, then upload the ZIP

Checkify Connector is not listed on the WordPress.org plugin directory. Download the official ZIP from checkify.me, then upload it under Plugins → Add New → Upload Plugin.
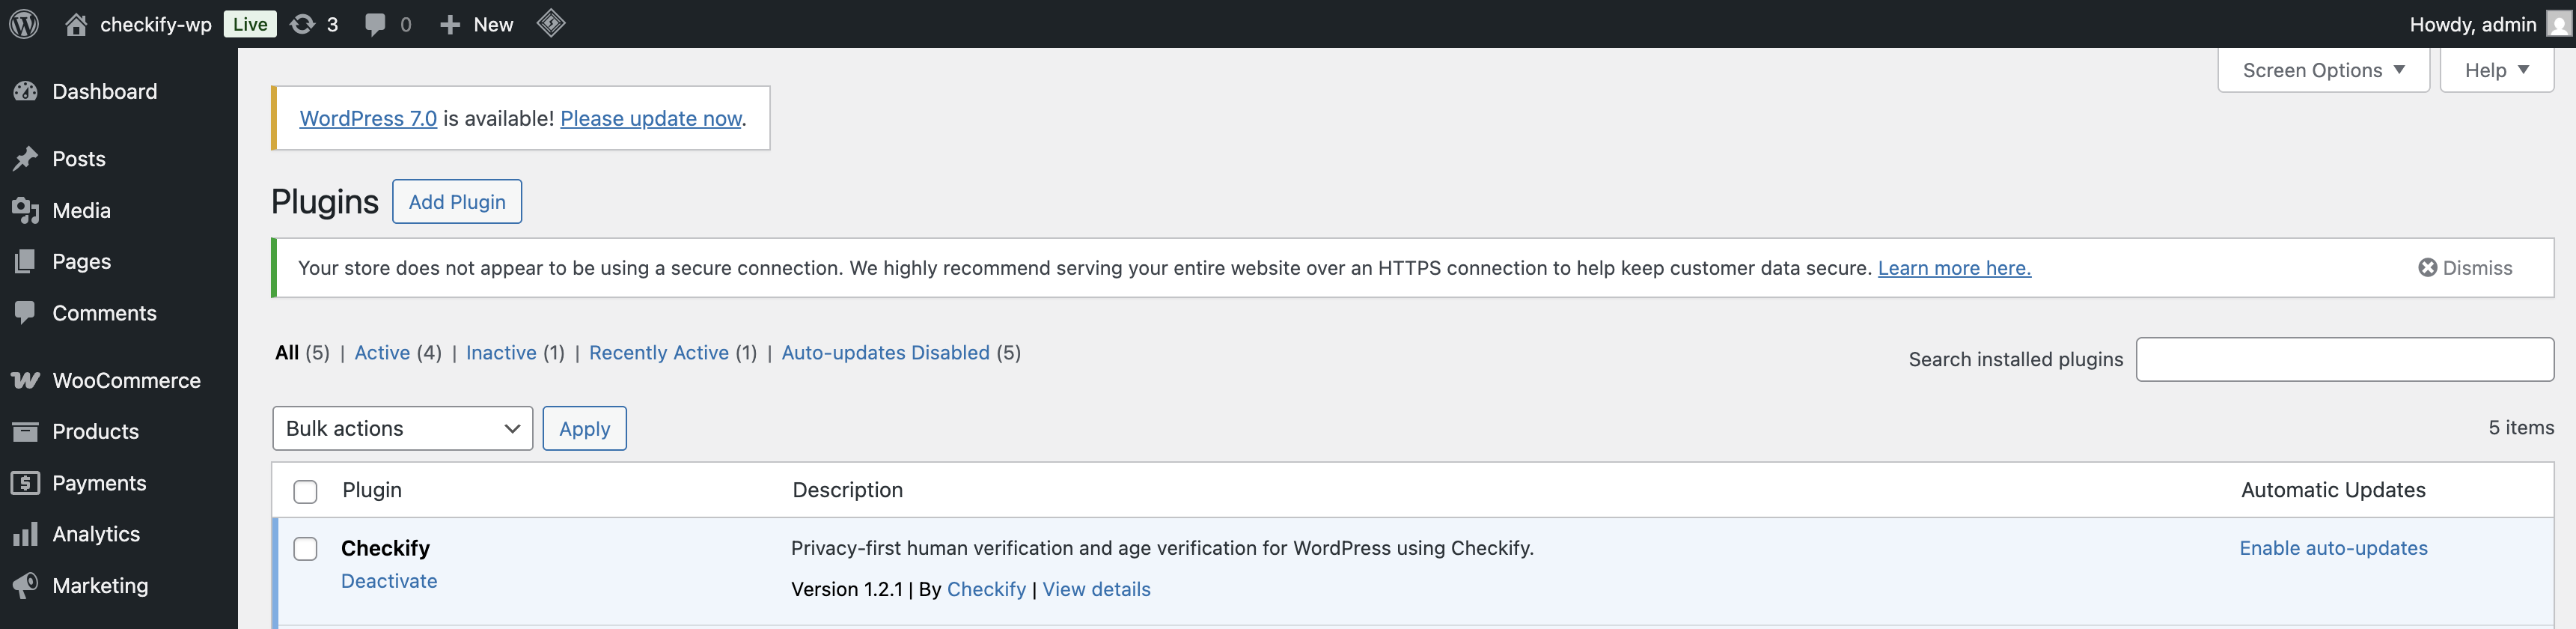
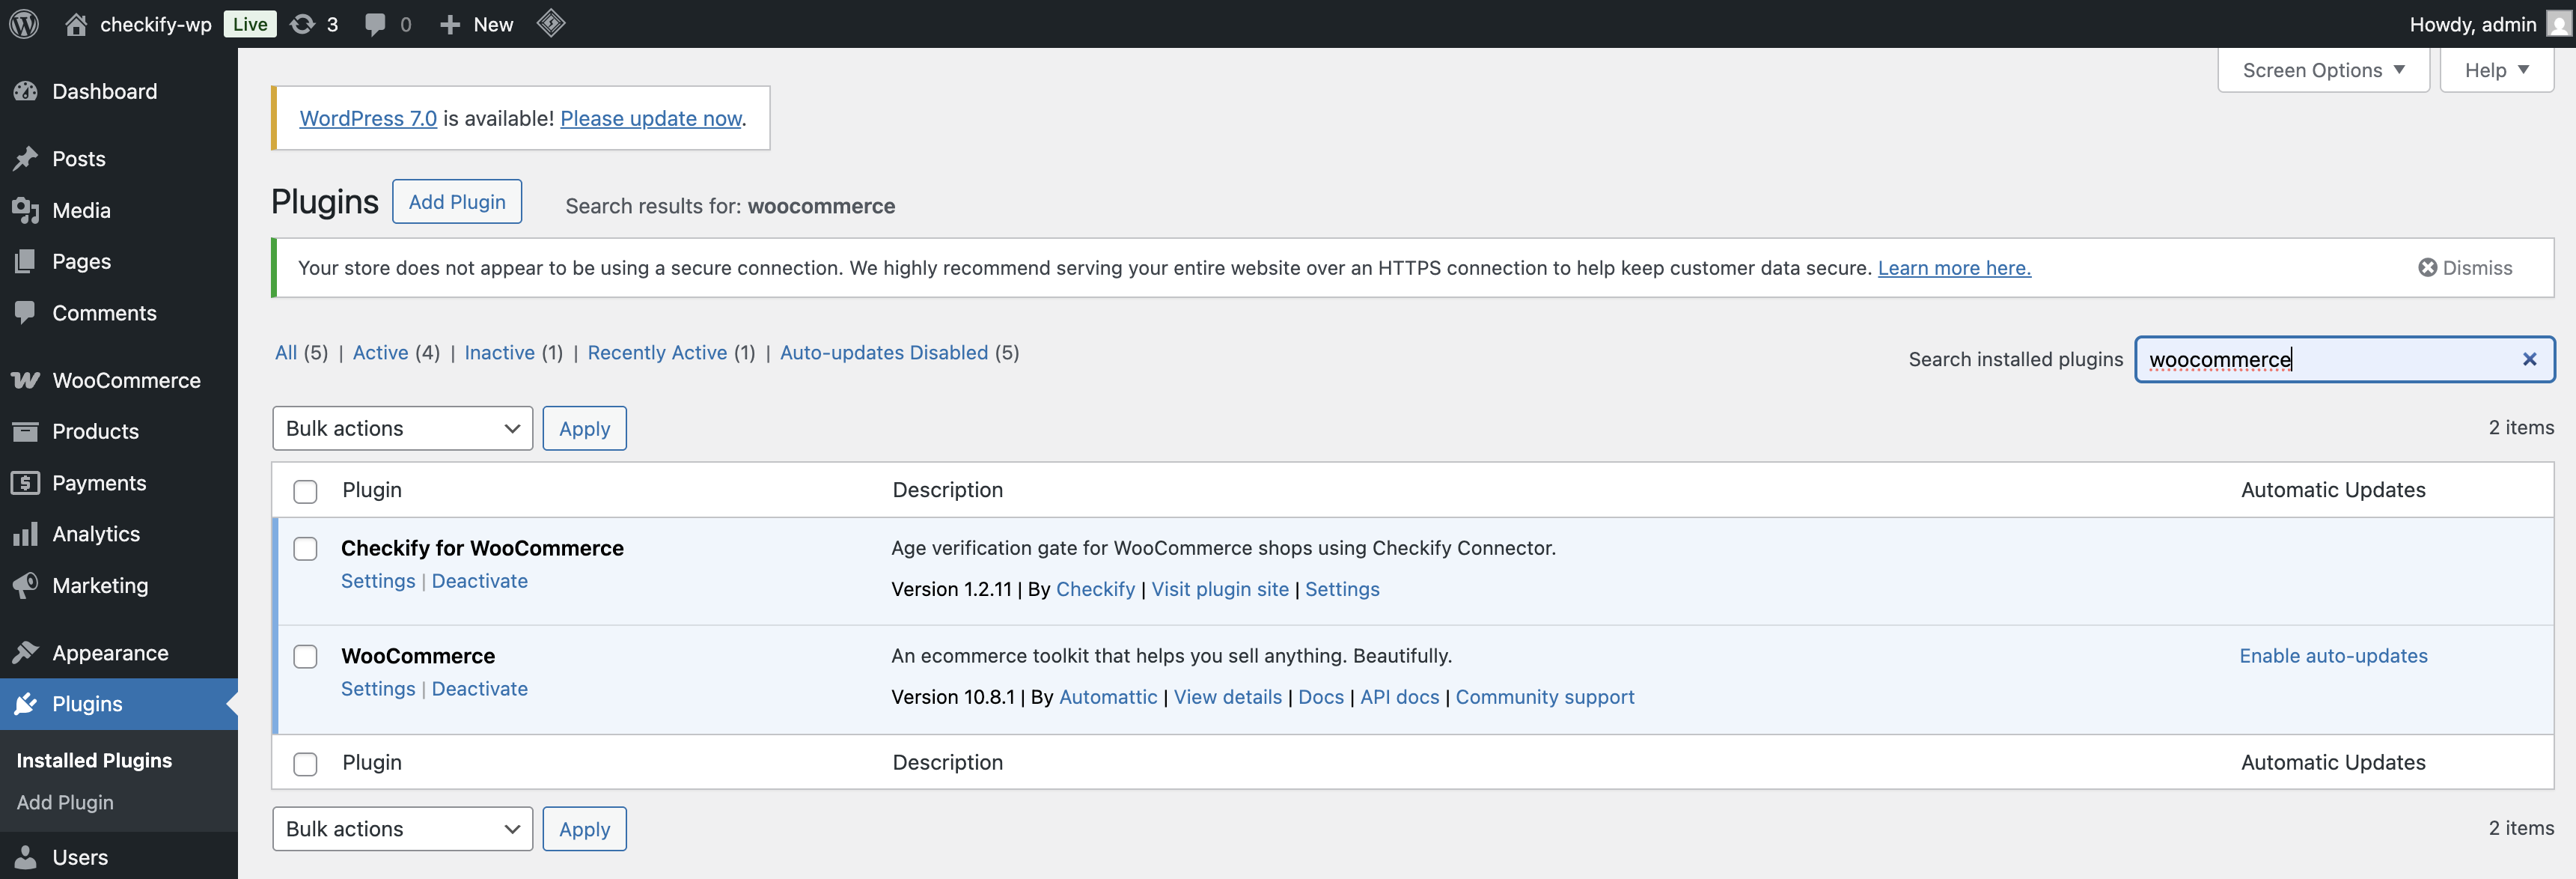
Install steps
Download the Checkify Connector ZIP from the downloads section on this page.
In WordPress, choose Plugins → Add New → Upload Plugin and select the ZIP file.

Go to official downloads →

Outcome: Checkify plugin installed
Search for Checkify plugin

Step 4

Enable the Checkify plugin

Under Plugins, open Installed Plugins and make sure the Checkify plugin is active.
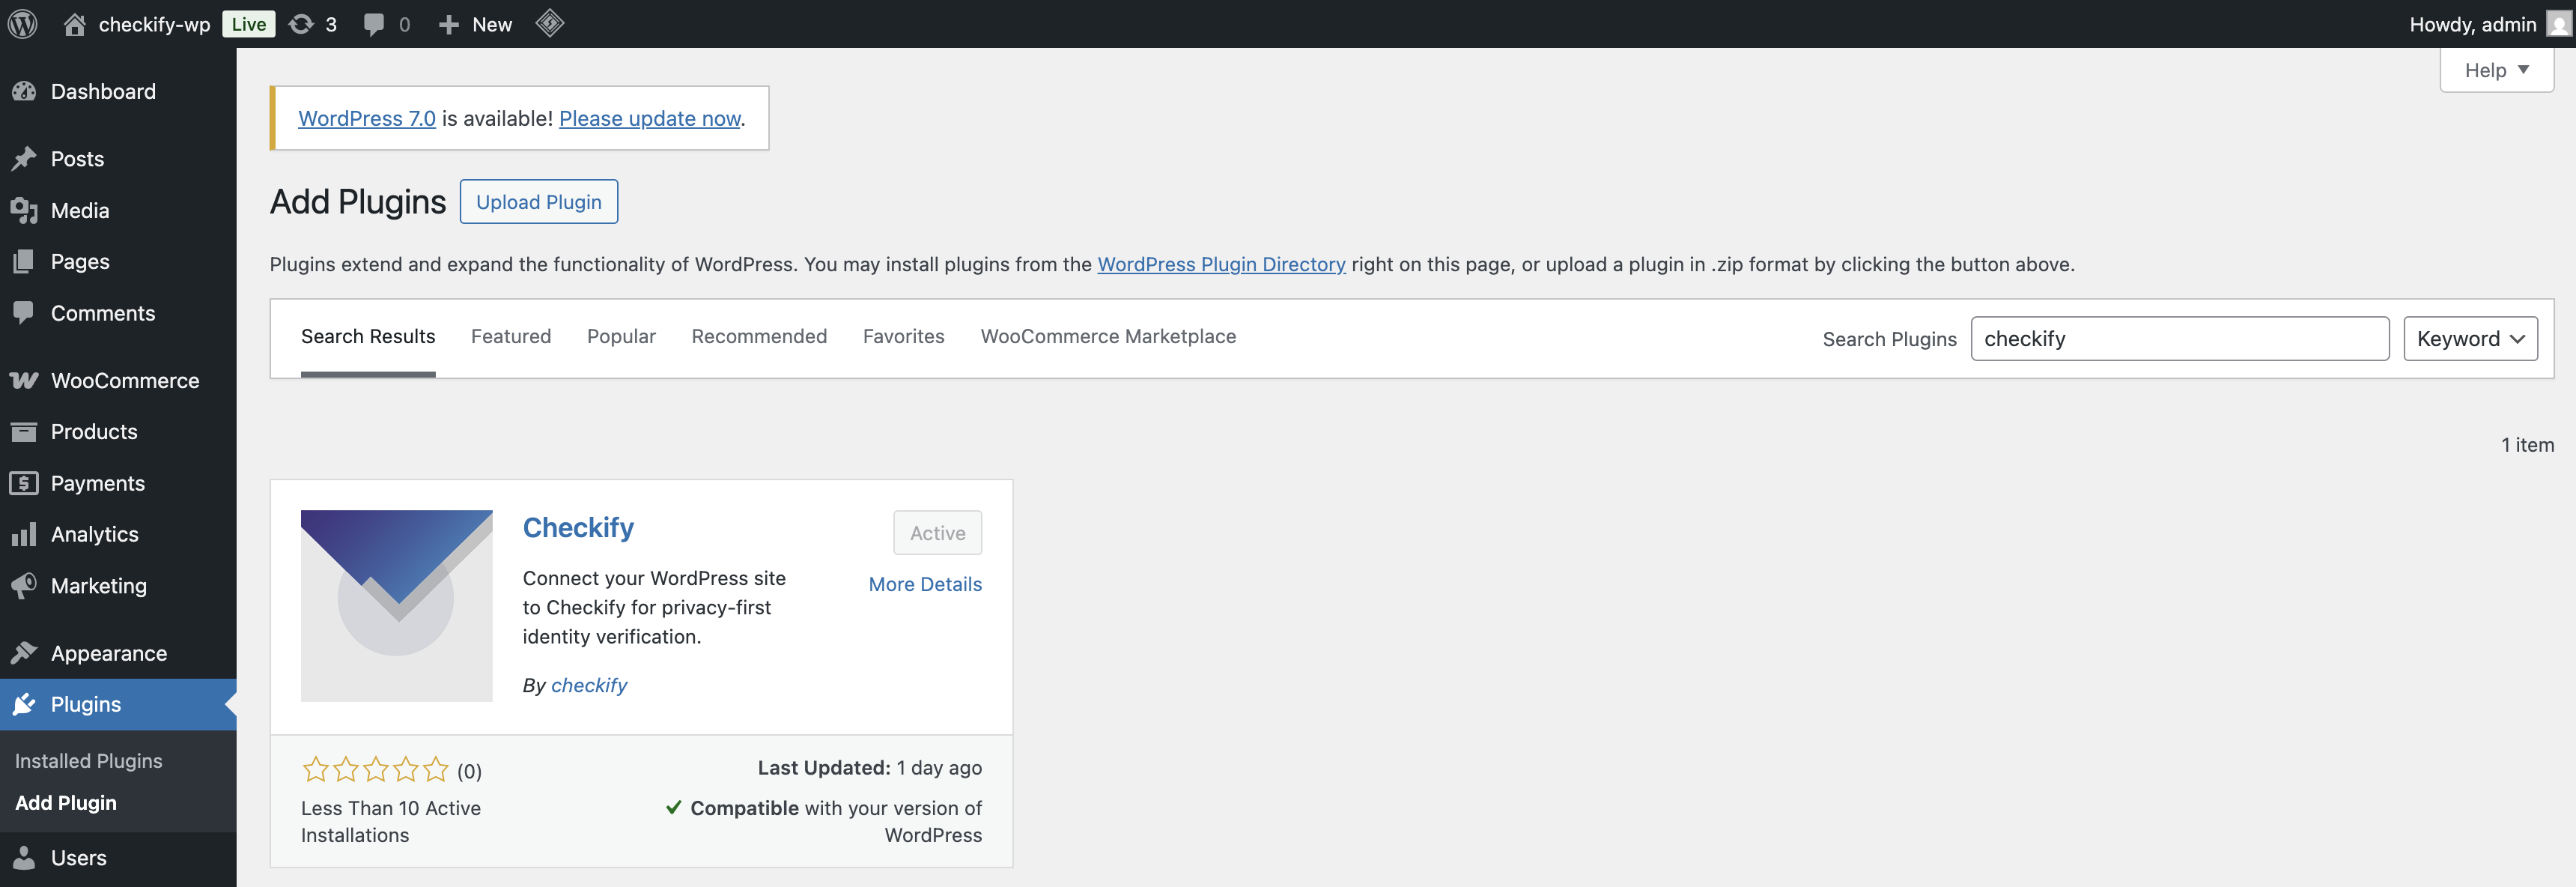
Go to Plugins, then Installed Plugins.
Find Checkify in the list.
Click Activate if it is not already active.
Outcome: Plugin active
Installed plugins page

Step 5

Open Checkify from the left panel

Once the plugin is active, a Checkify menu item appears in the WordPress left panel. Open it to start connecting your site.
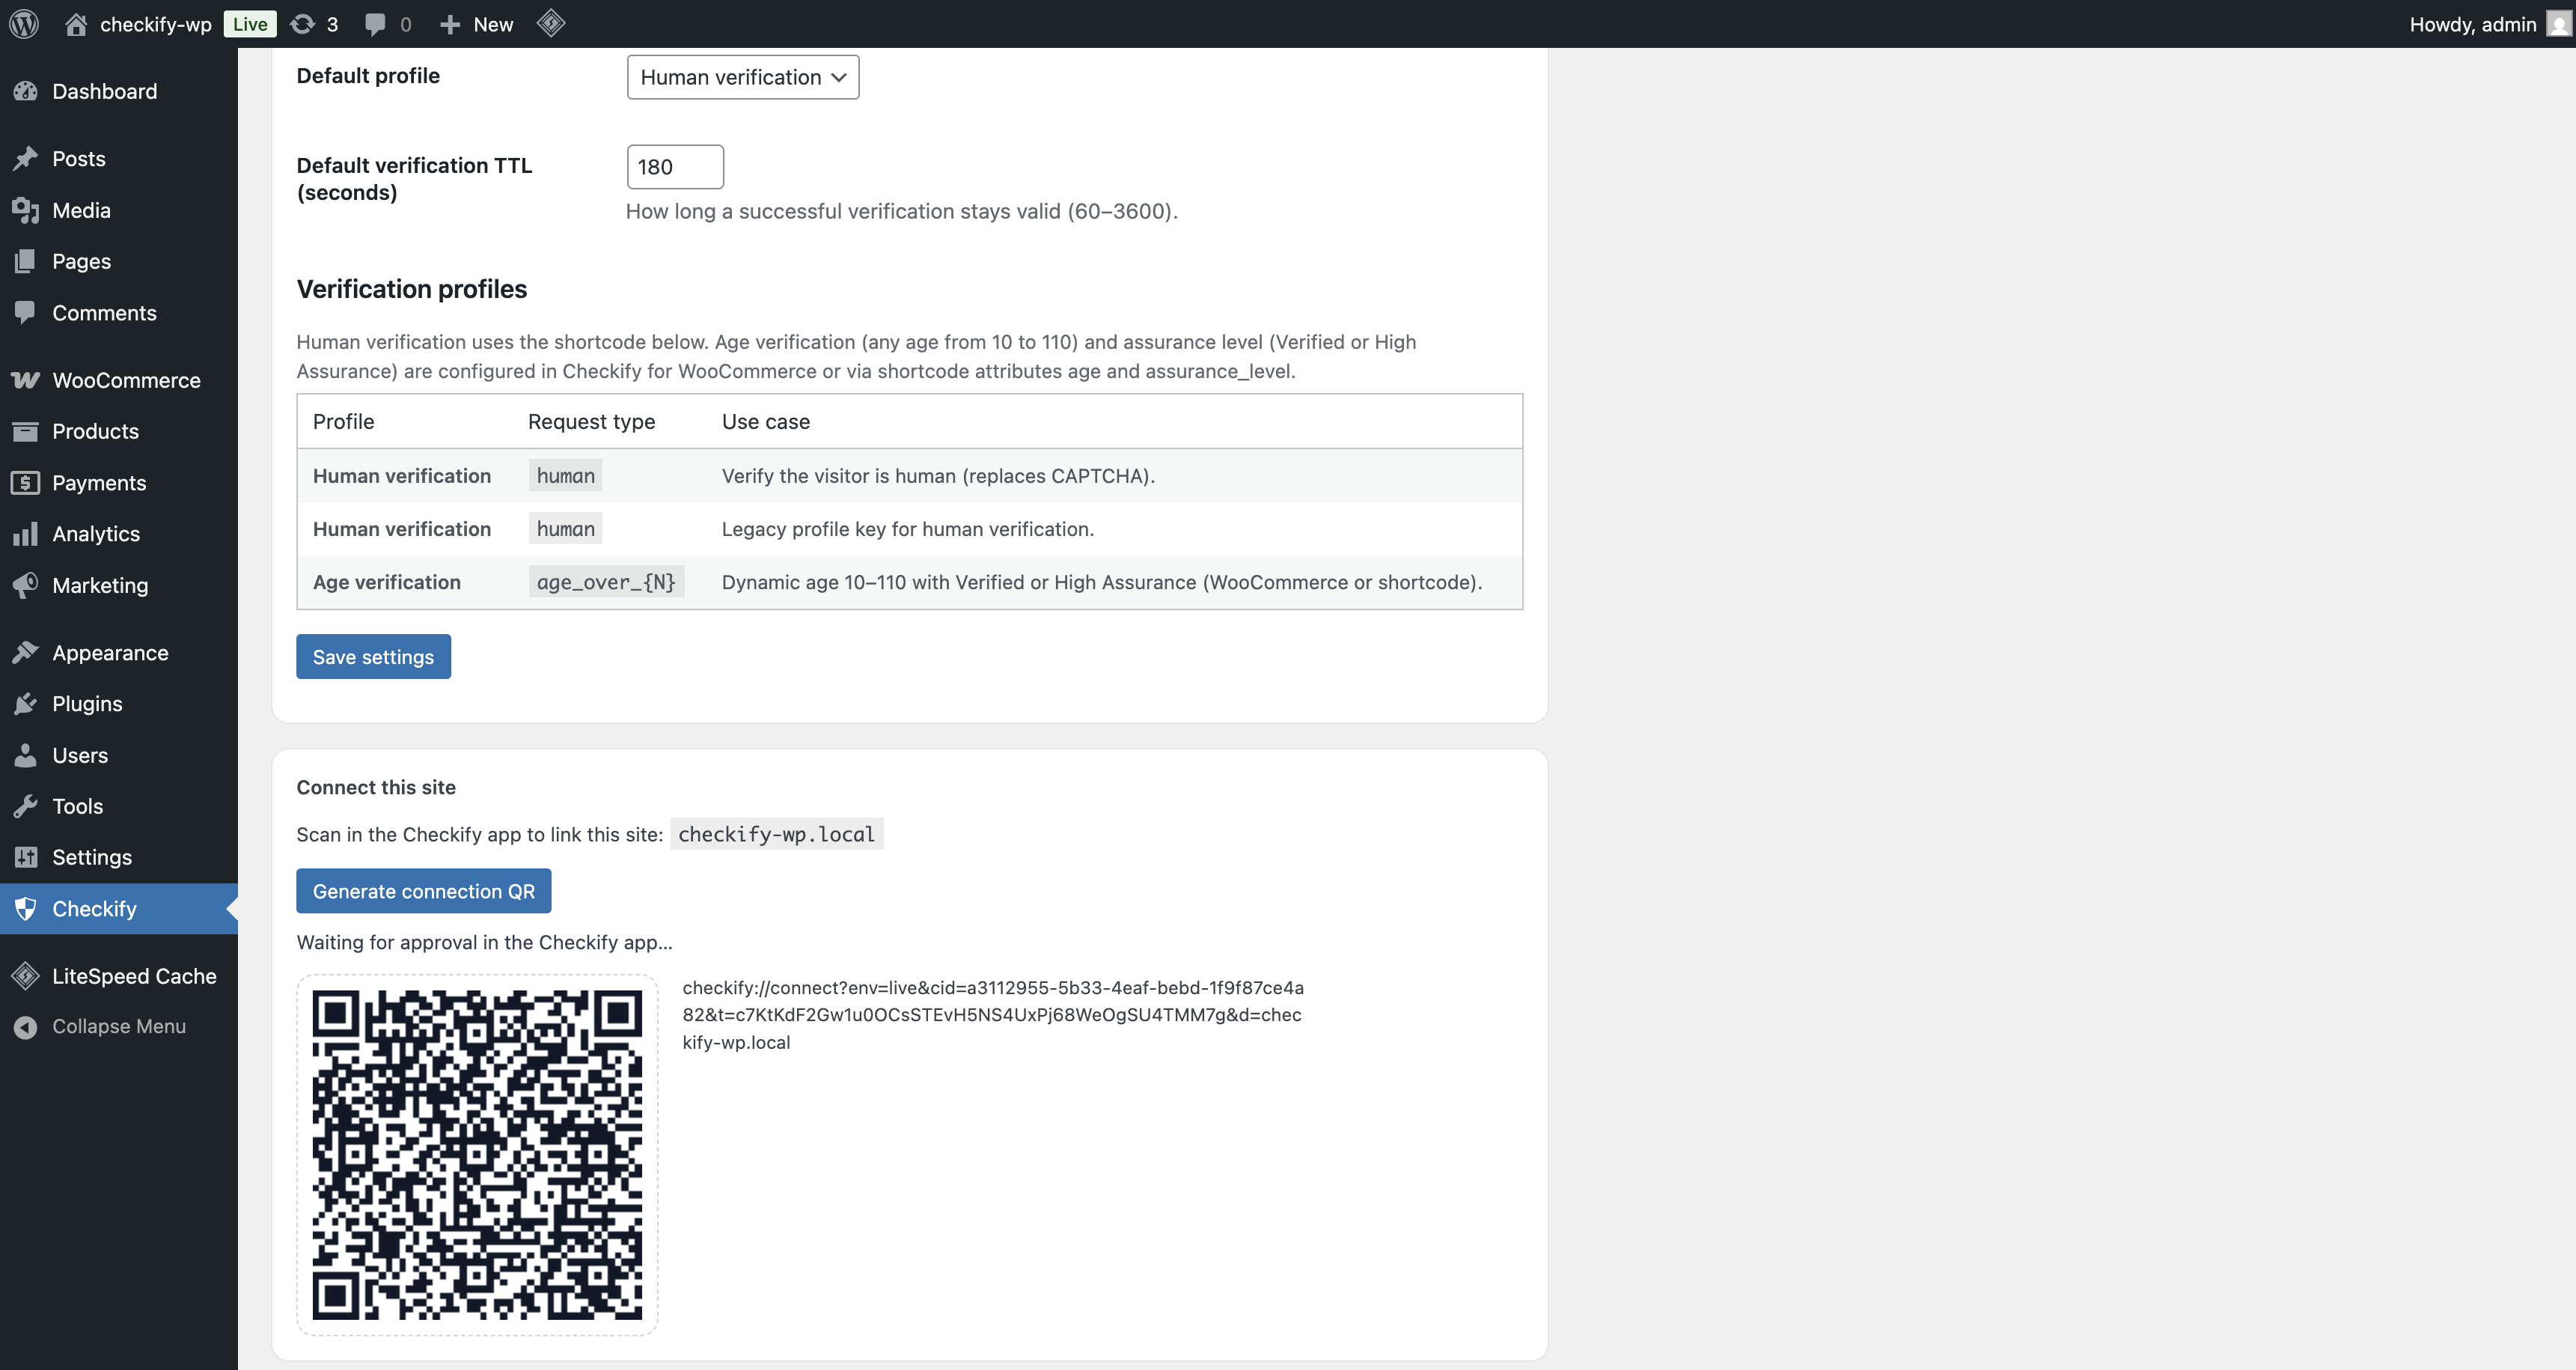
Open the Checkify plugin page.
Review your connection status.
Outcome: Checkify plugin opened
Checkify menu in WordPress

Step 6

Connect your site by scanning the QR code

The Checkify plugin shows a QR code. Scan it with Checkify to connect your WordPress site to your Checkify account.

Once connected, your WordPress site is linked through the Checkify connector.

Connection result

Your WordPress site is now connected to Checkify and ready to use Checkify Passes.

Outcome: Site connected
Connect WordPress with QR code

Step 7

Choose the gate you want to use

Search for the gate you need inside the Checkify plugin. For example, you might choose a WooCommerce checkout gate, signup gate, login gate, form gate, or custom selector.
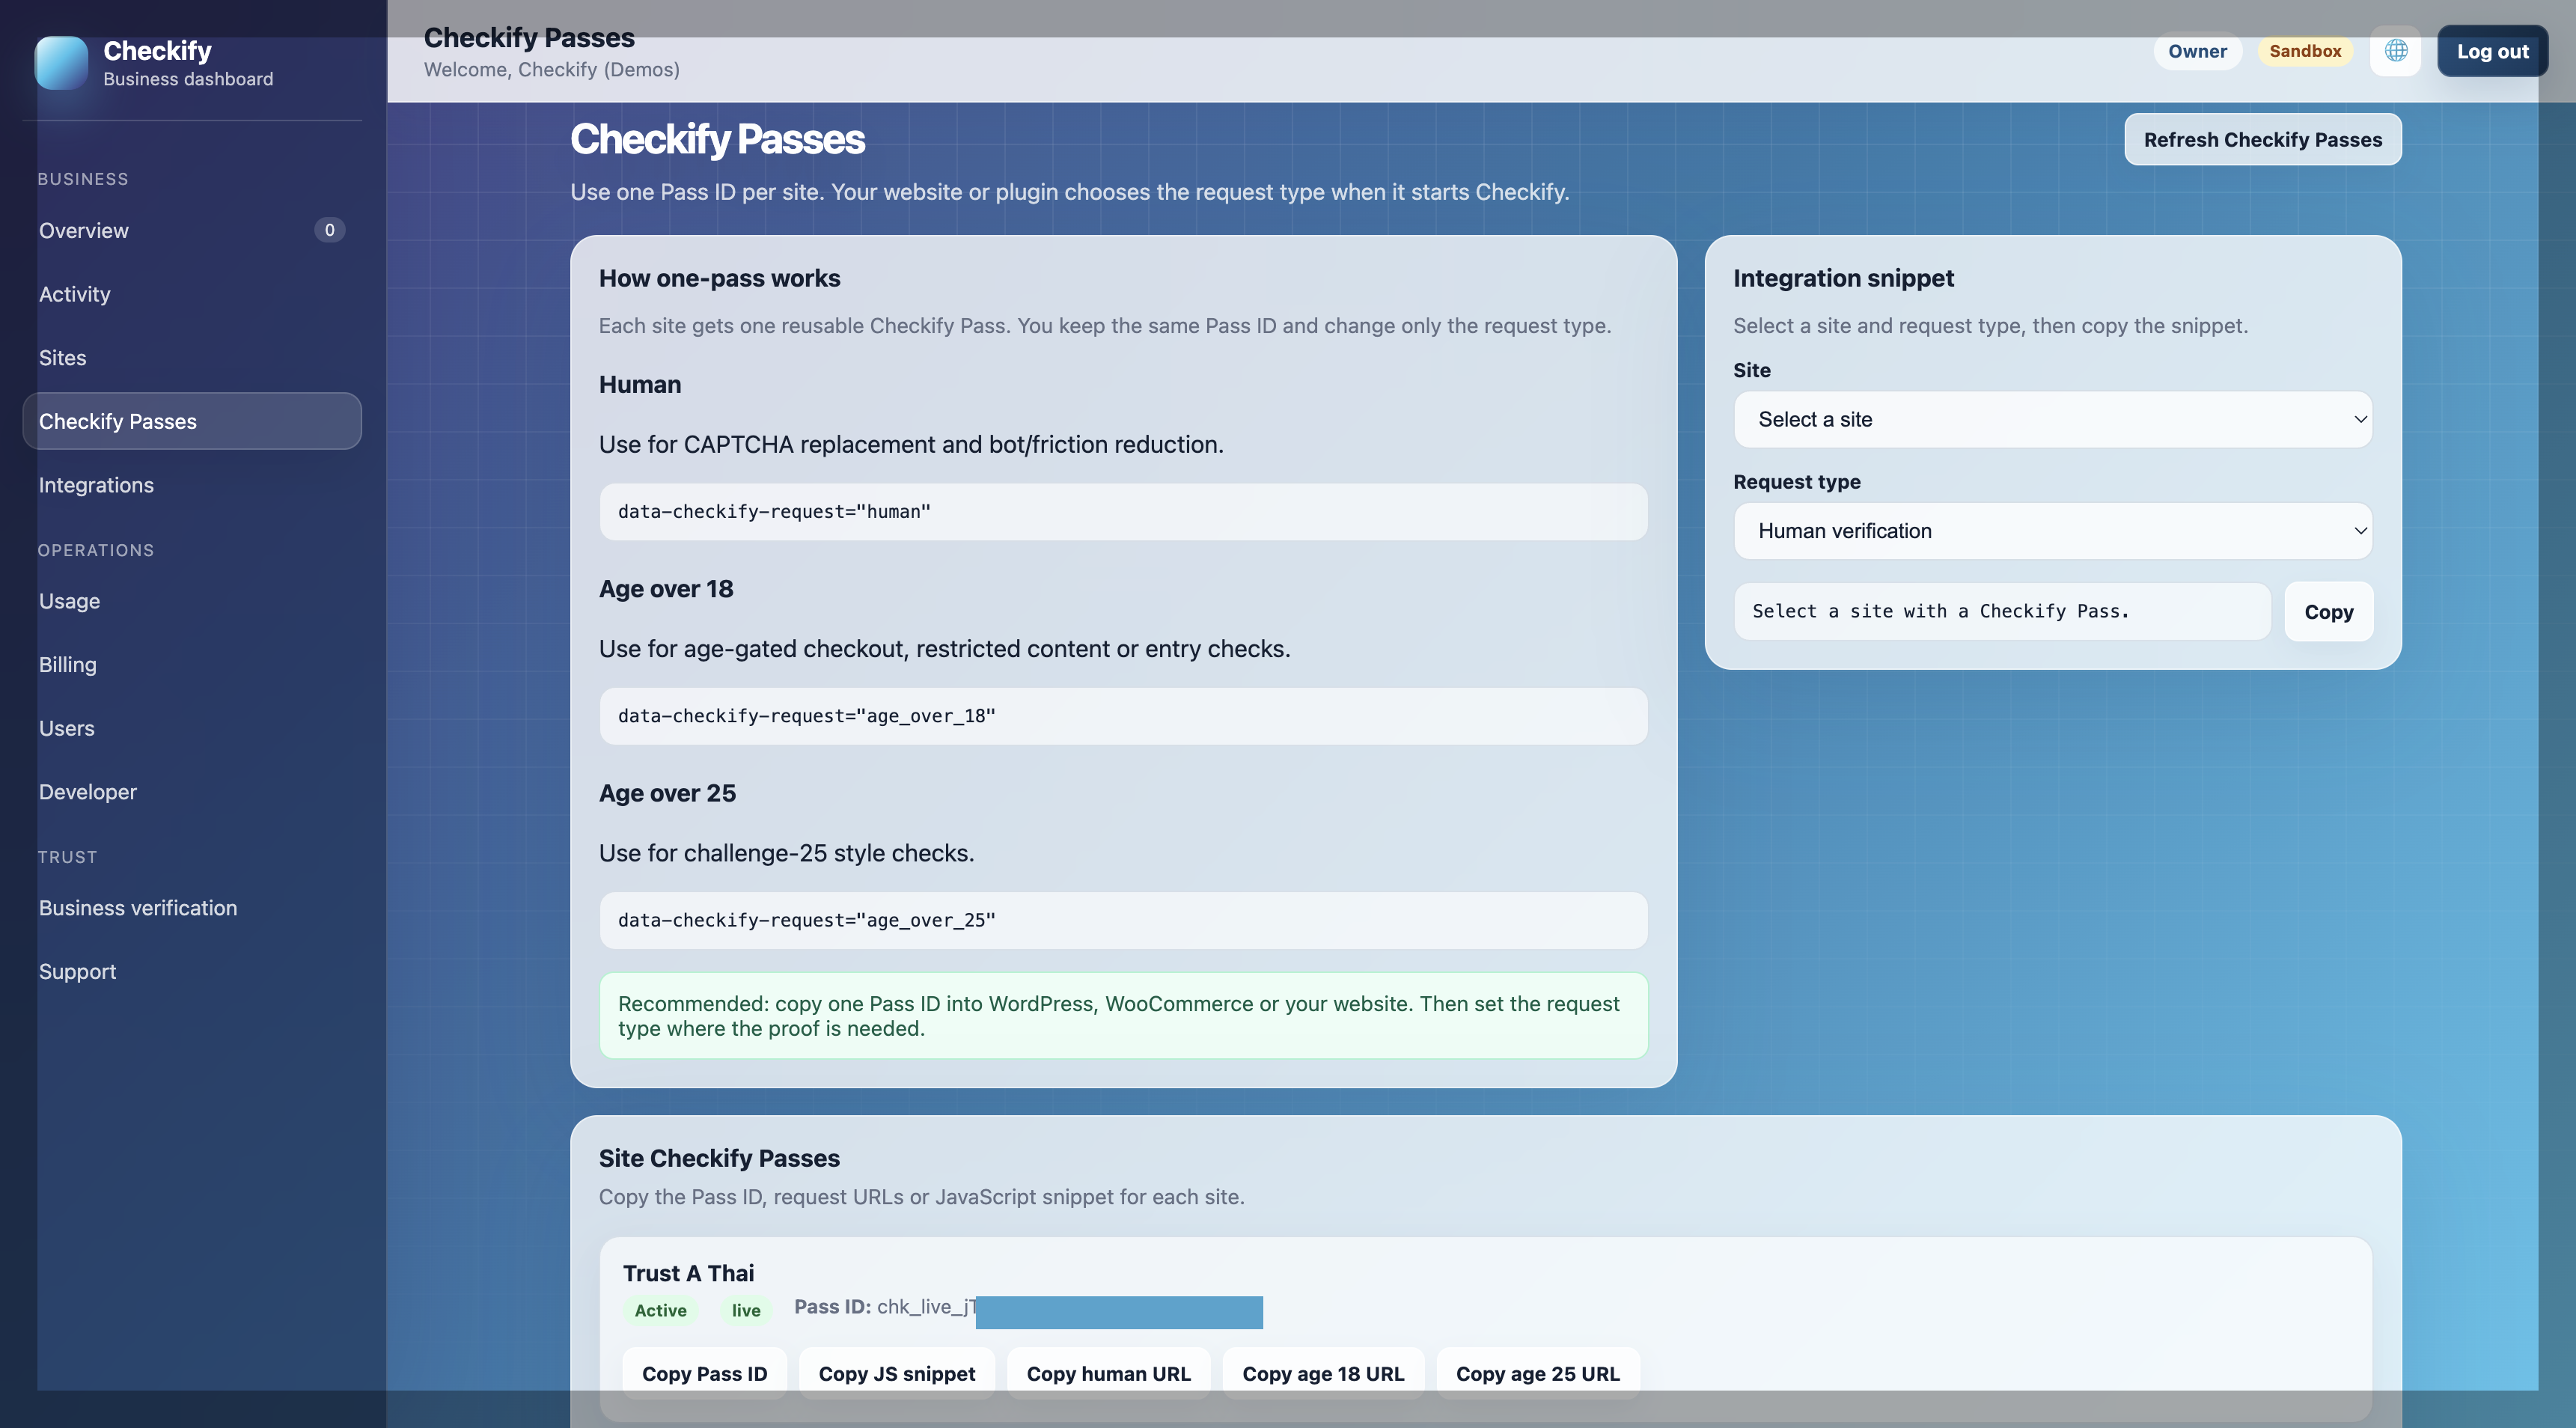
WooCommerce checkout gate.
Signup or registration gate.
Forms, comments, contact pages, or custom selectors.
Outcome: Gate selected
Choose Checkify gate

Step 8

Copy your Checkify Pass ID

When you create a digital site in the Checkify app or business dashboard, Checkify automatically provisions one Pass for that site. You do not create a separate Pass — open Checkify Passes and copy the Pass ID for your site.

Example integration

“Before checkout, confirm this user is human and over 18.” Set the proof type in your WordPress gate or embed — the same Pass ID works for human, age 18, and other request types.
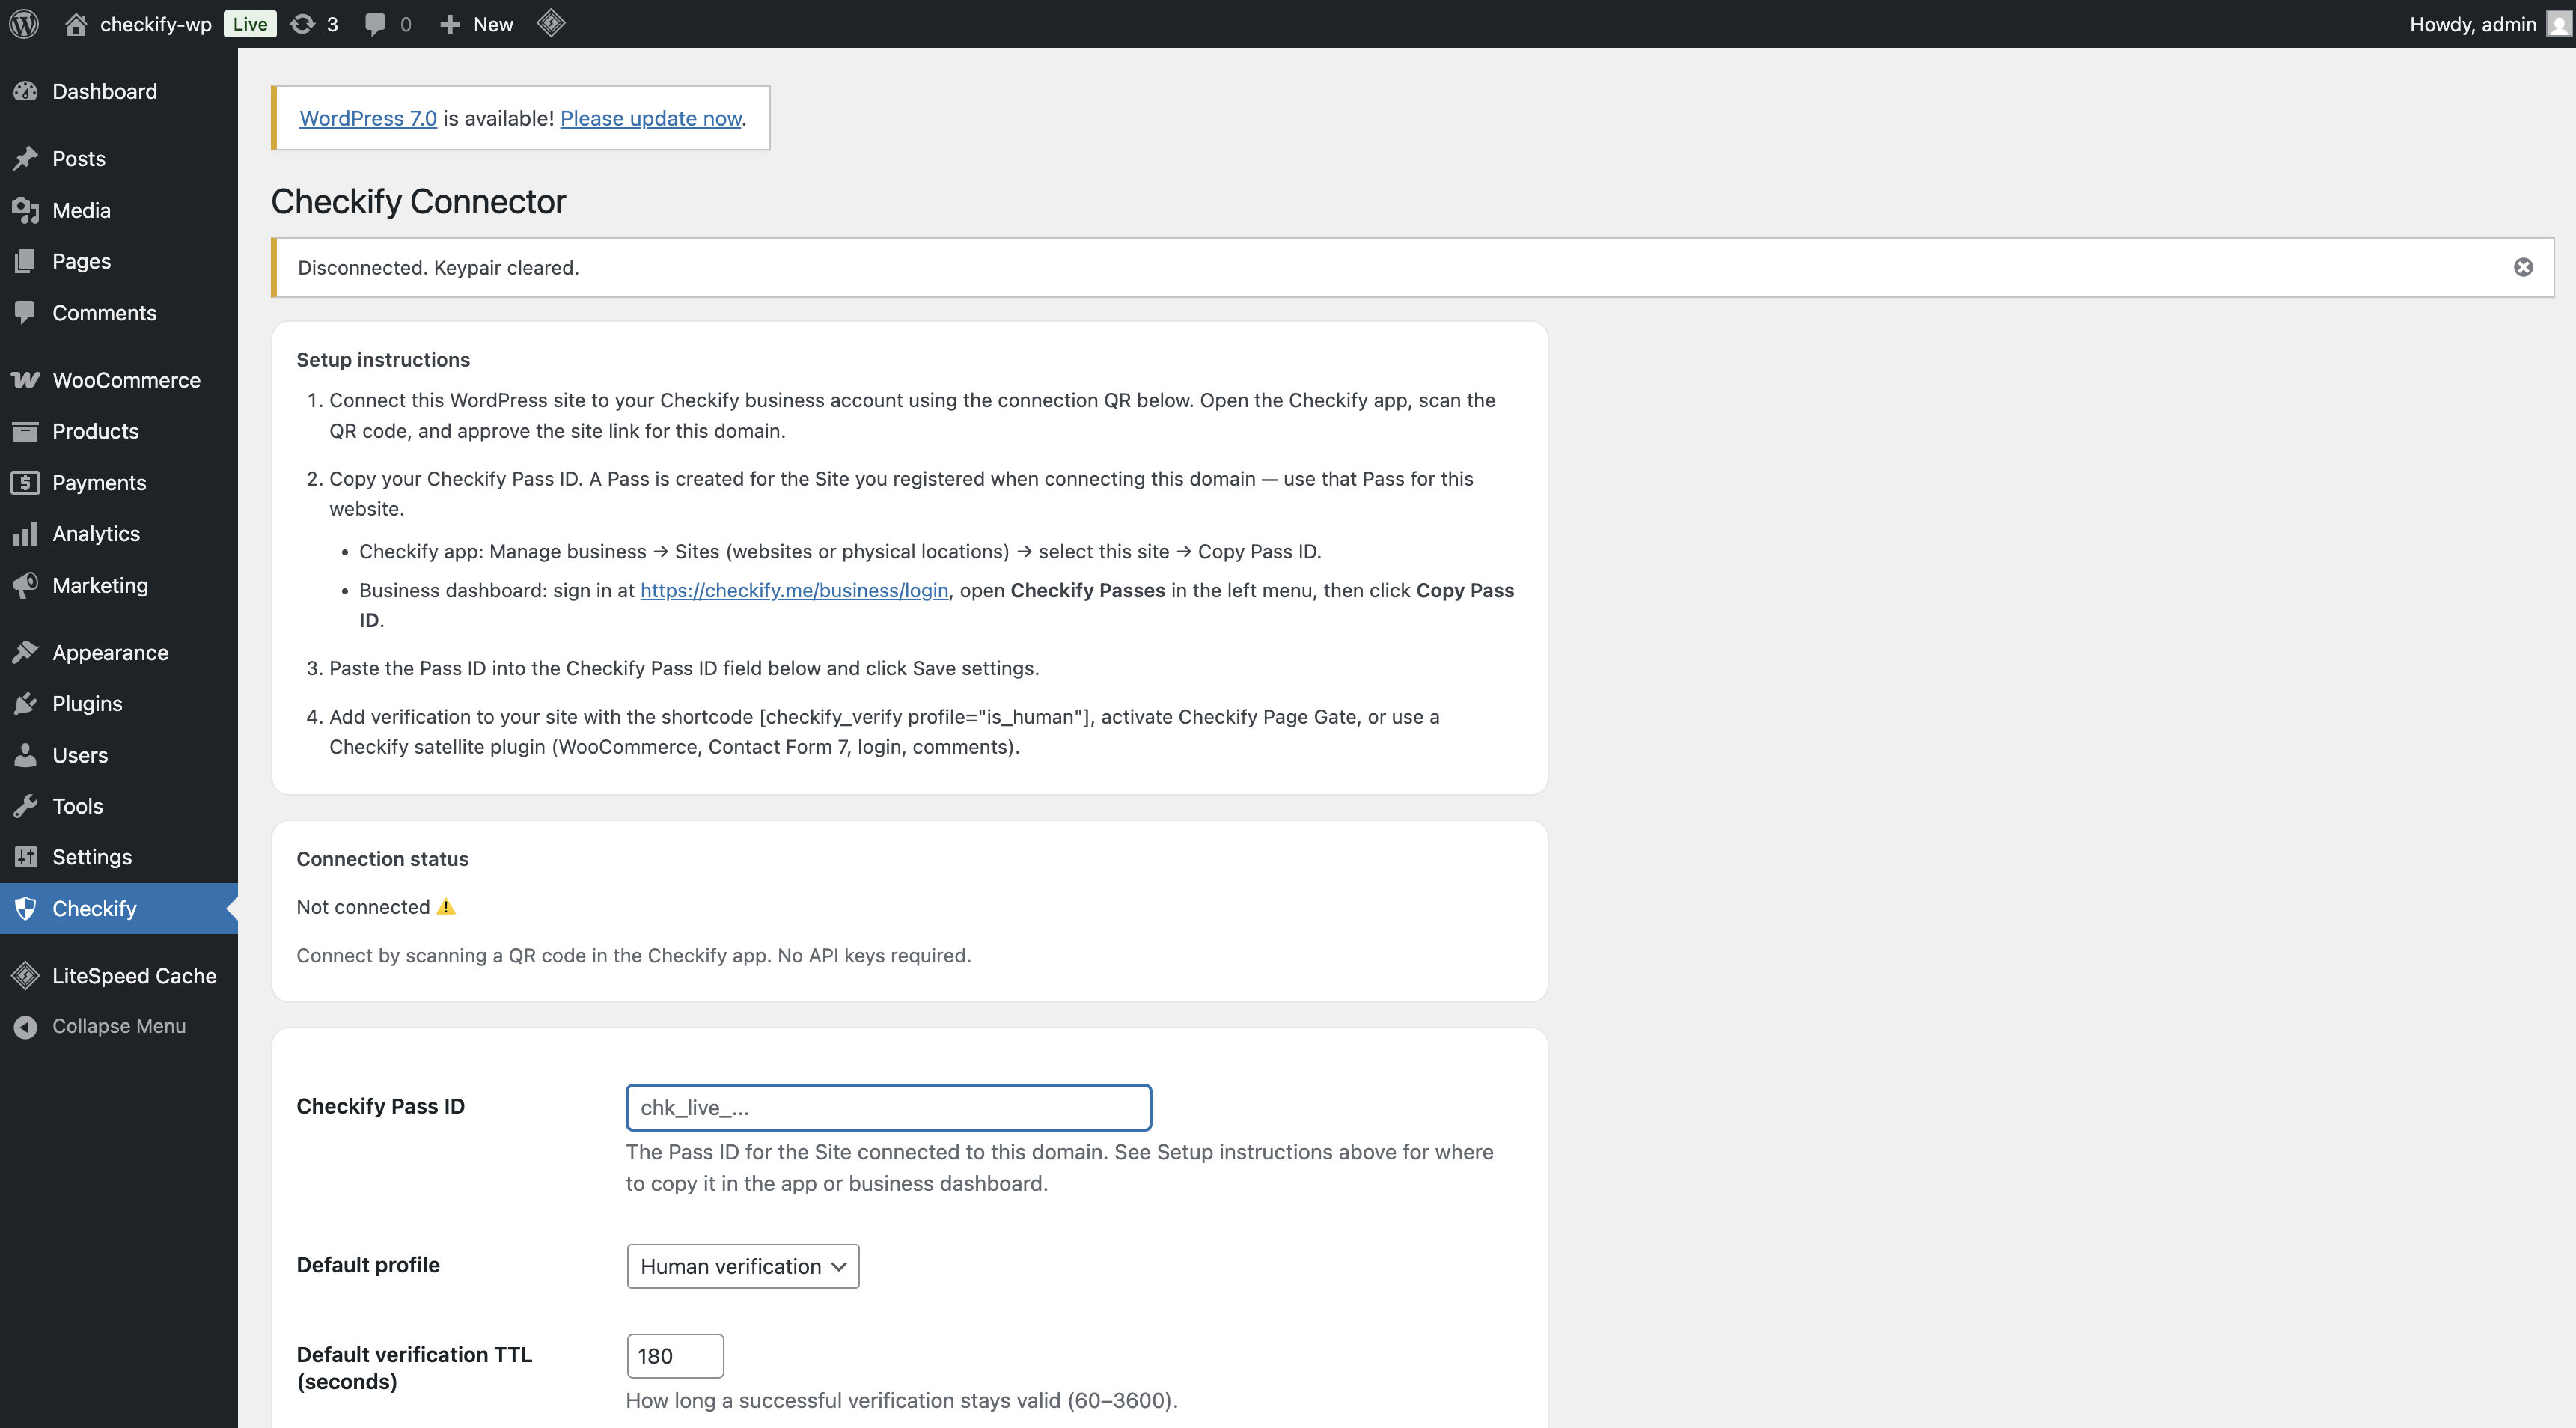
Create your site in the app or business dashboard — a Pass is provisioned automatically.
Open Checkify Passes and copy the Pass ID.
Outcome: Pass ID copied
Copy Checkify Pass ID from dashboard

Step 9

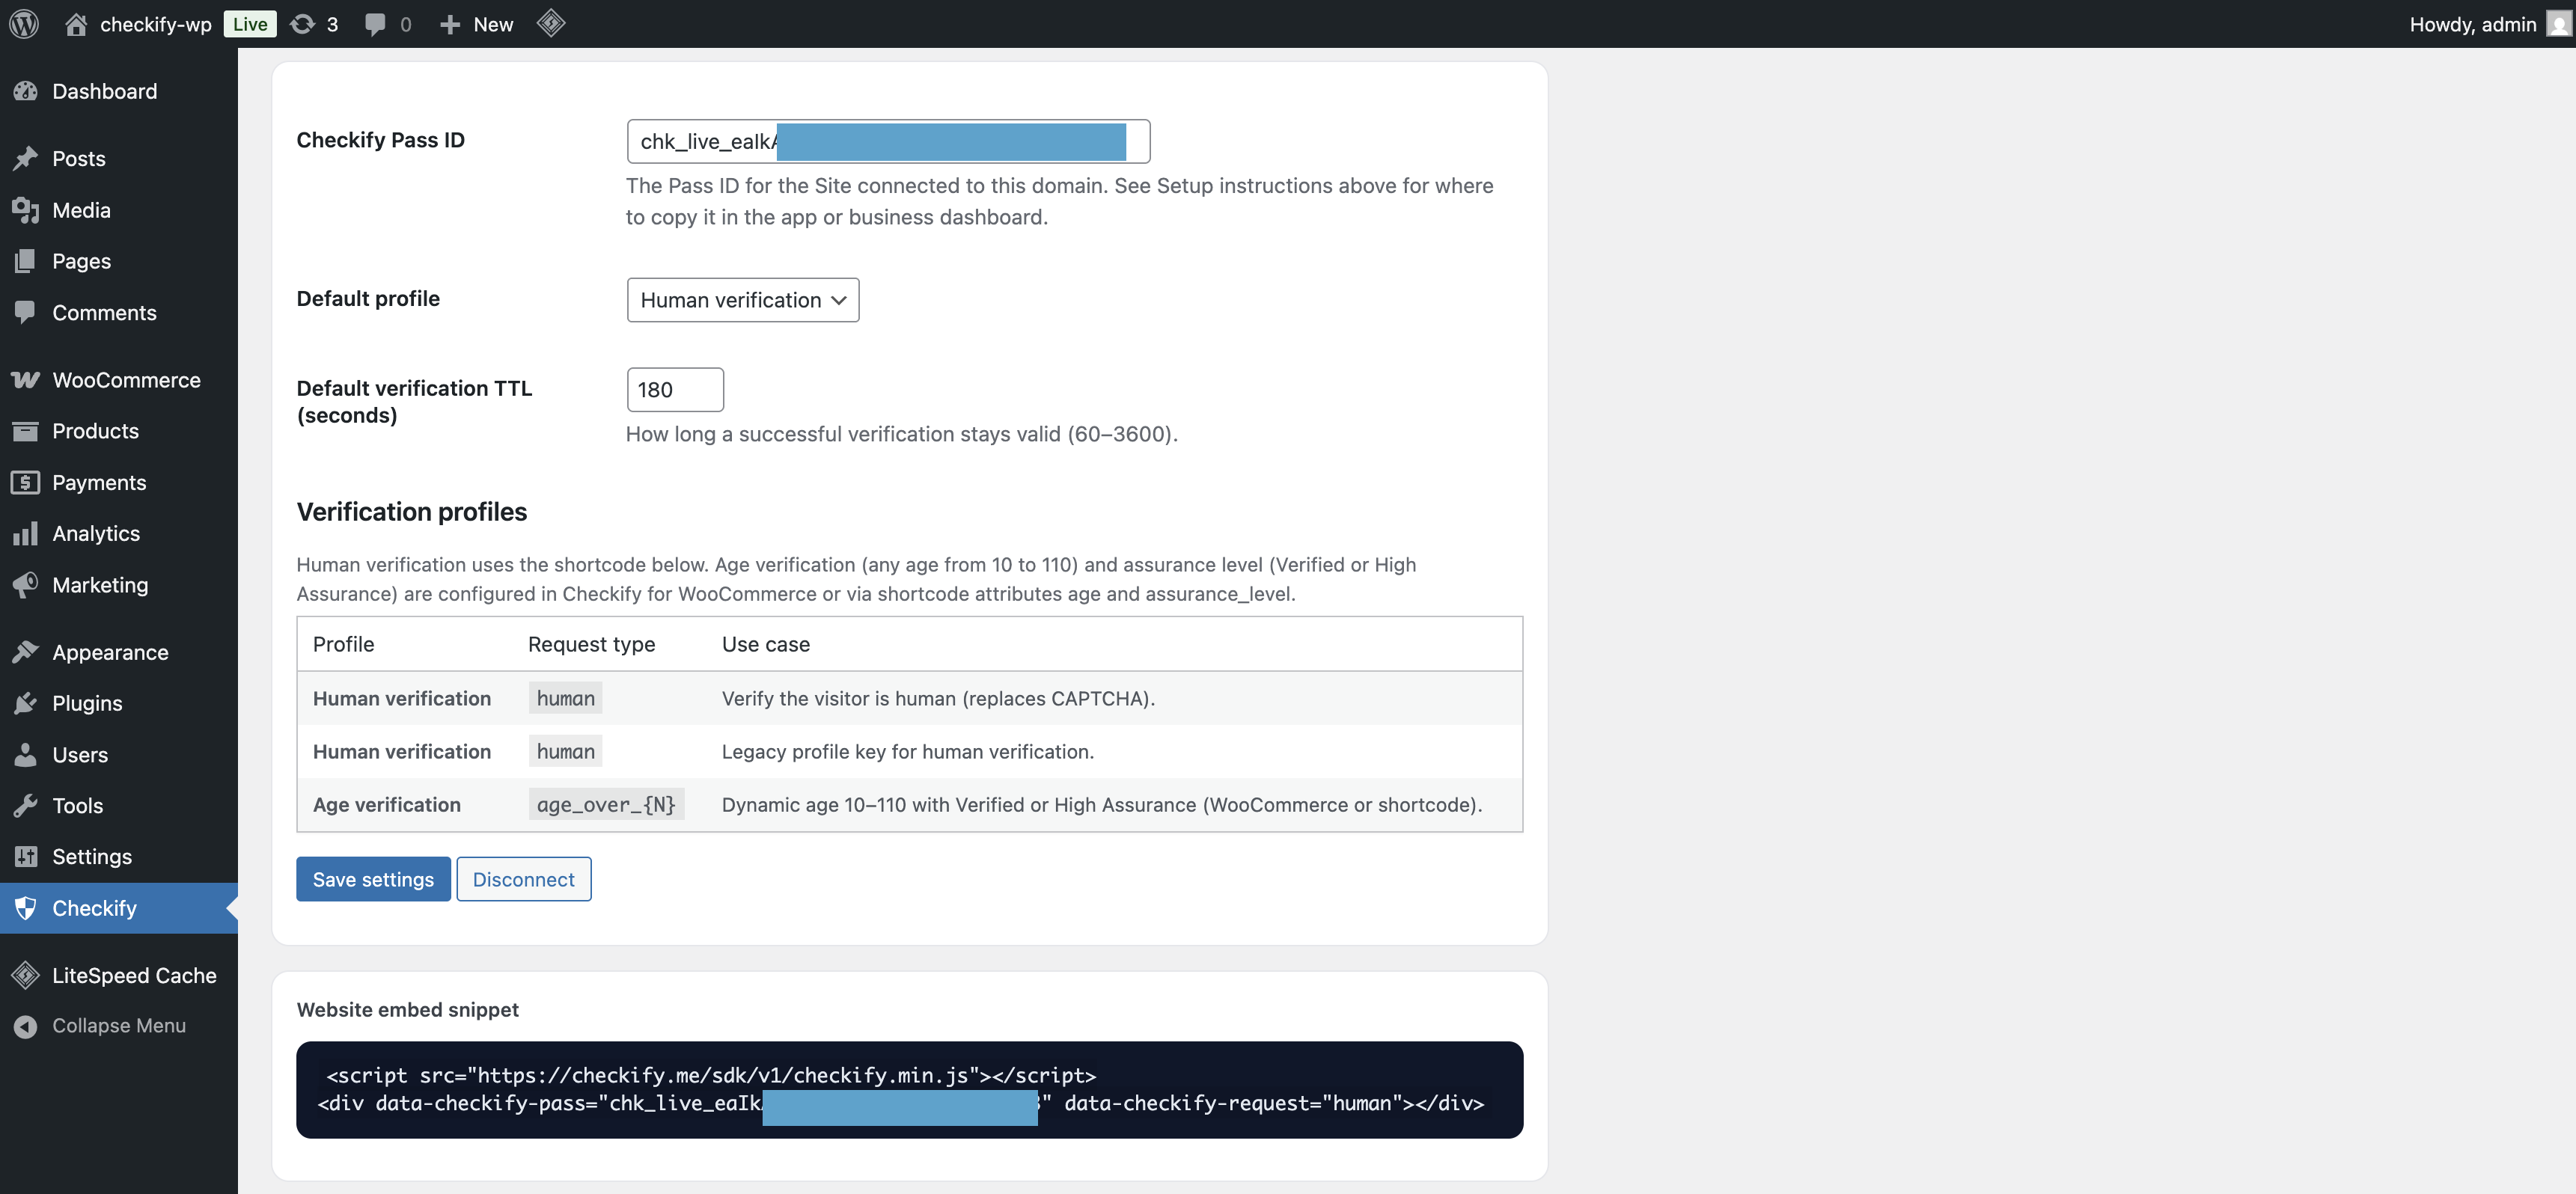
Paste the Pass ID into Checkify Connector

Open Checkify Connector in WordPress and paste your Checkify Pass ID into the connector settings.

The connector shares this Pass ID with Checkify plugins such as WooCommerce, login gates, and forms.

Example plugin field
Checkify Pass ID: YOUR_CHECKIFY_PASS_ID
Outcome: Connector linked to Checkify Pass
Paste Pass ID into WordPress plugin

Step 10

Finish Connector setup

Save your Pass ID in Checkify Connector and confirm the site connection is active. Then open the plugin guide for the gate you need — such as WooCommerce checkout.

Save the Pass ID in Checkify Connector.
Confirm your site shows as connected.
Choose a plugin guide below to configure your gate.
Outcome: Connector ready for plugins

View plugin guides →

Connector setup complete

Connector installed
Checkify Connector is active in WordPress.
Site connected
Your WordPress site is linked to your Checkify business.
Next: choose a plugin
Open a plugin guide below for WooCommerce checkout, login, forms, or other gates.
Plugin guides

Choose your Checkify plugin

Steps 1–10 cover Checkify Connector only. Each plugin adds its own gate — install the plugin you need and follow its dedicated setup guide.

WC
Available

Checkify for WooCommerce

Age verification at checkout, on cart pages, or across your entire storefront. Supports category restrictions and block checkout.

WooCommerce setup guide →
IN
Coming soon

Checkify Login

Human verification on WordPress login and registration flows.

CM
Coming soon

Checkify Comments

Gate comments behind a Checkify Pass before they are posted.

CF
Coming soon

Checkify for Contact Form 7

Require verification before Contact Form 7 submissions are sent.

PG
Coming soon

Checkify Page Gate

Protect selected pages or posts with a Checkify verification gate.

Ready to connect WordPress to Checkify?

Install the plugin, connect your site, choose a gate, and add your Checkify Pass ID.