Checkify app
Set up in the Checkify app
Install the Checkify app, create your identity, then register and manage your business from Settings.
Step 1
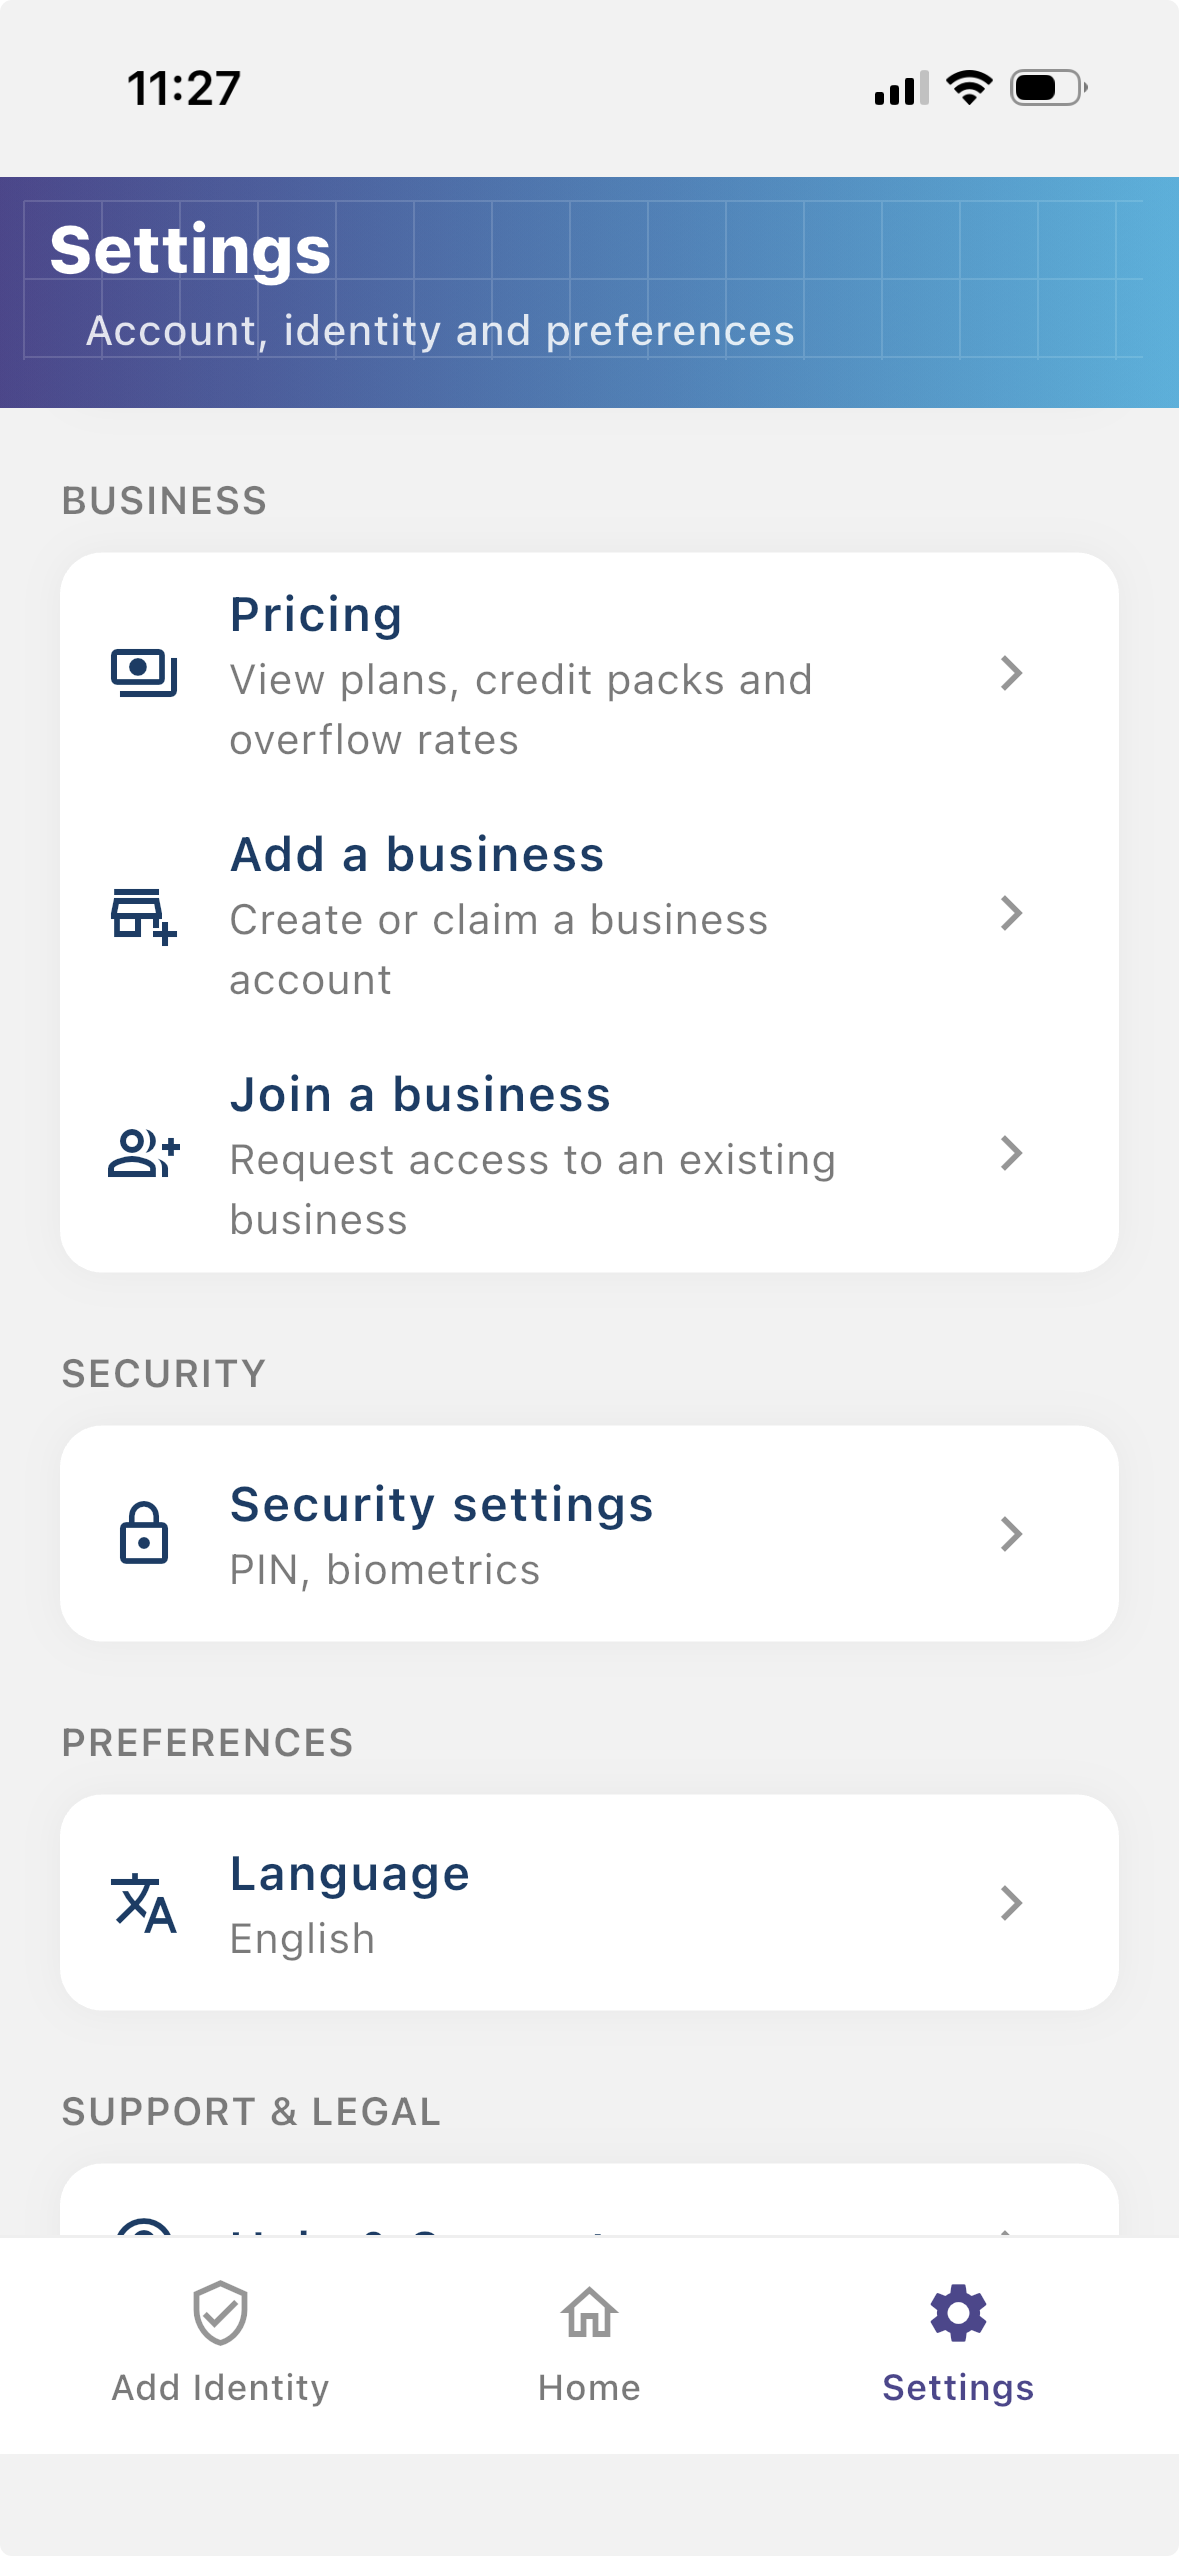
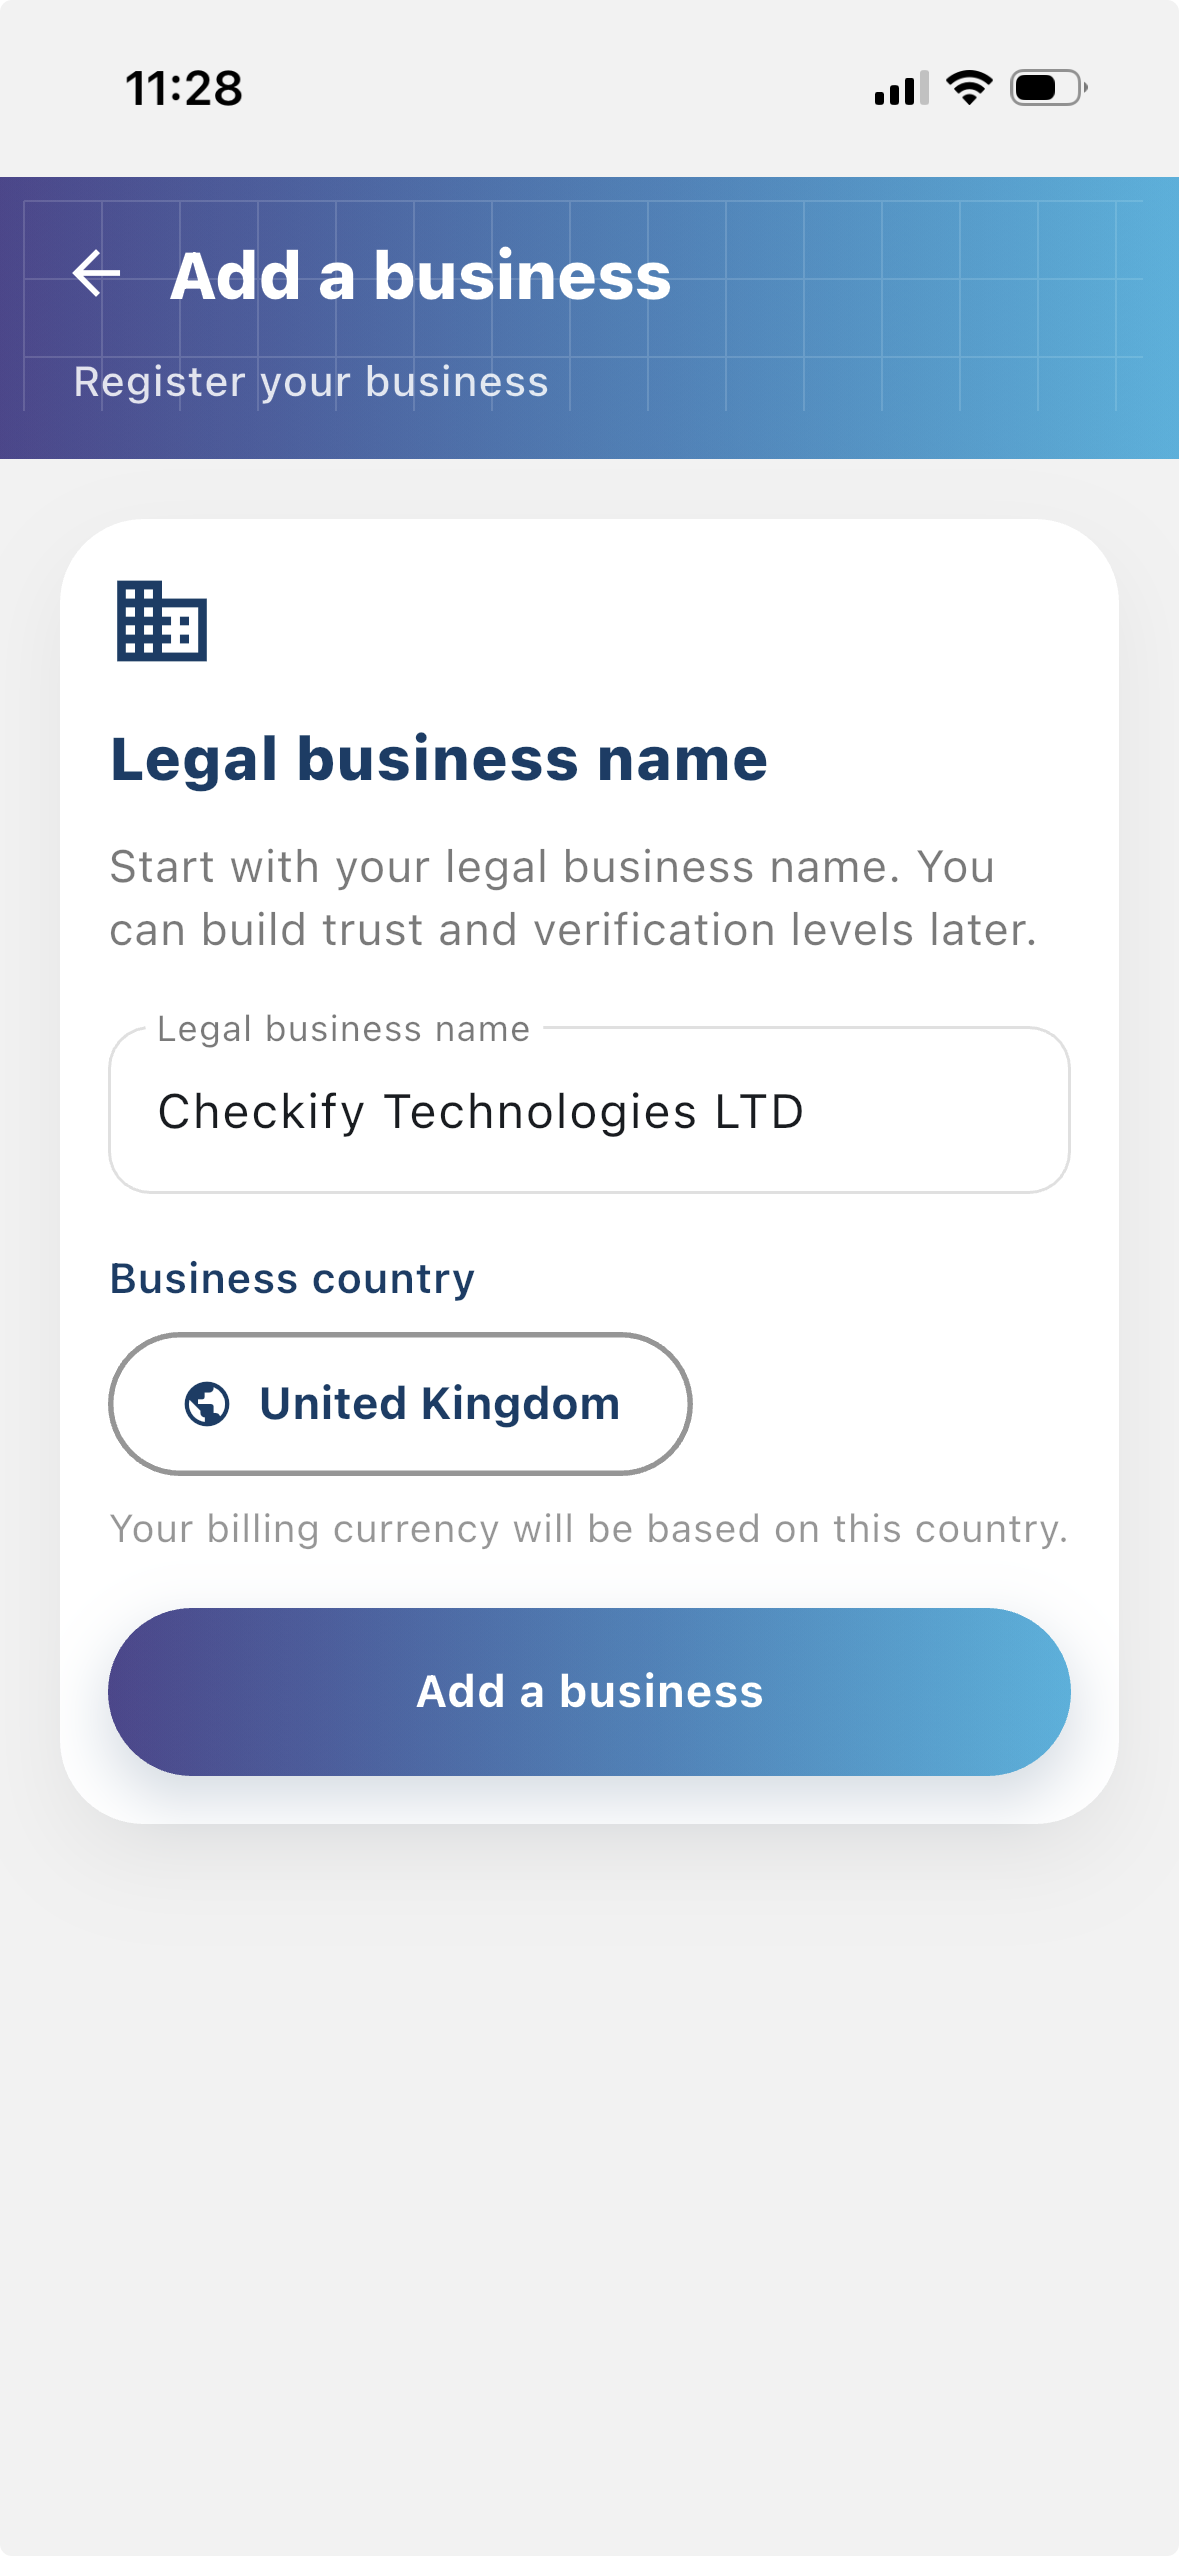
Settings → Add business
Open Settings in the Checkify app and tap Add business. Enter your legal business name and select your business country.
Outcome: Business created
Step 2
Finish setup and activate
Confirm your business details, complete setup, and activate the business. If prompted, add credits under Settings → Top up / Subscribe before creating sites.
Outcome: Business active
Step 3
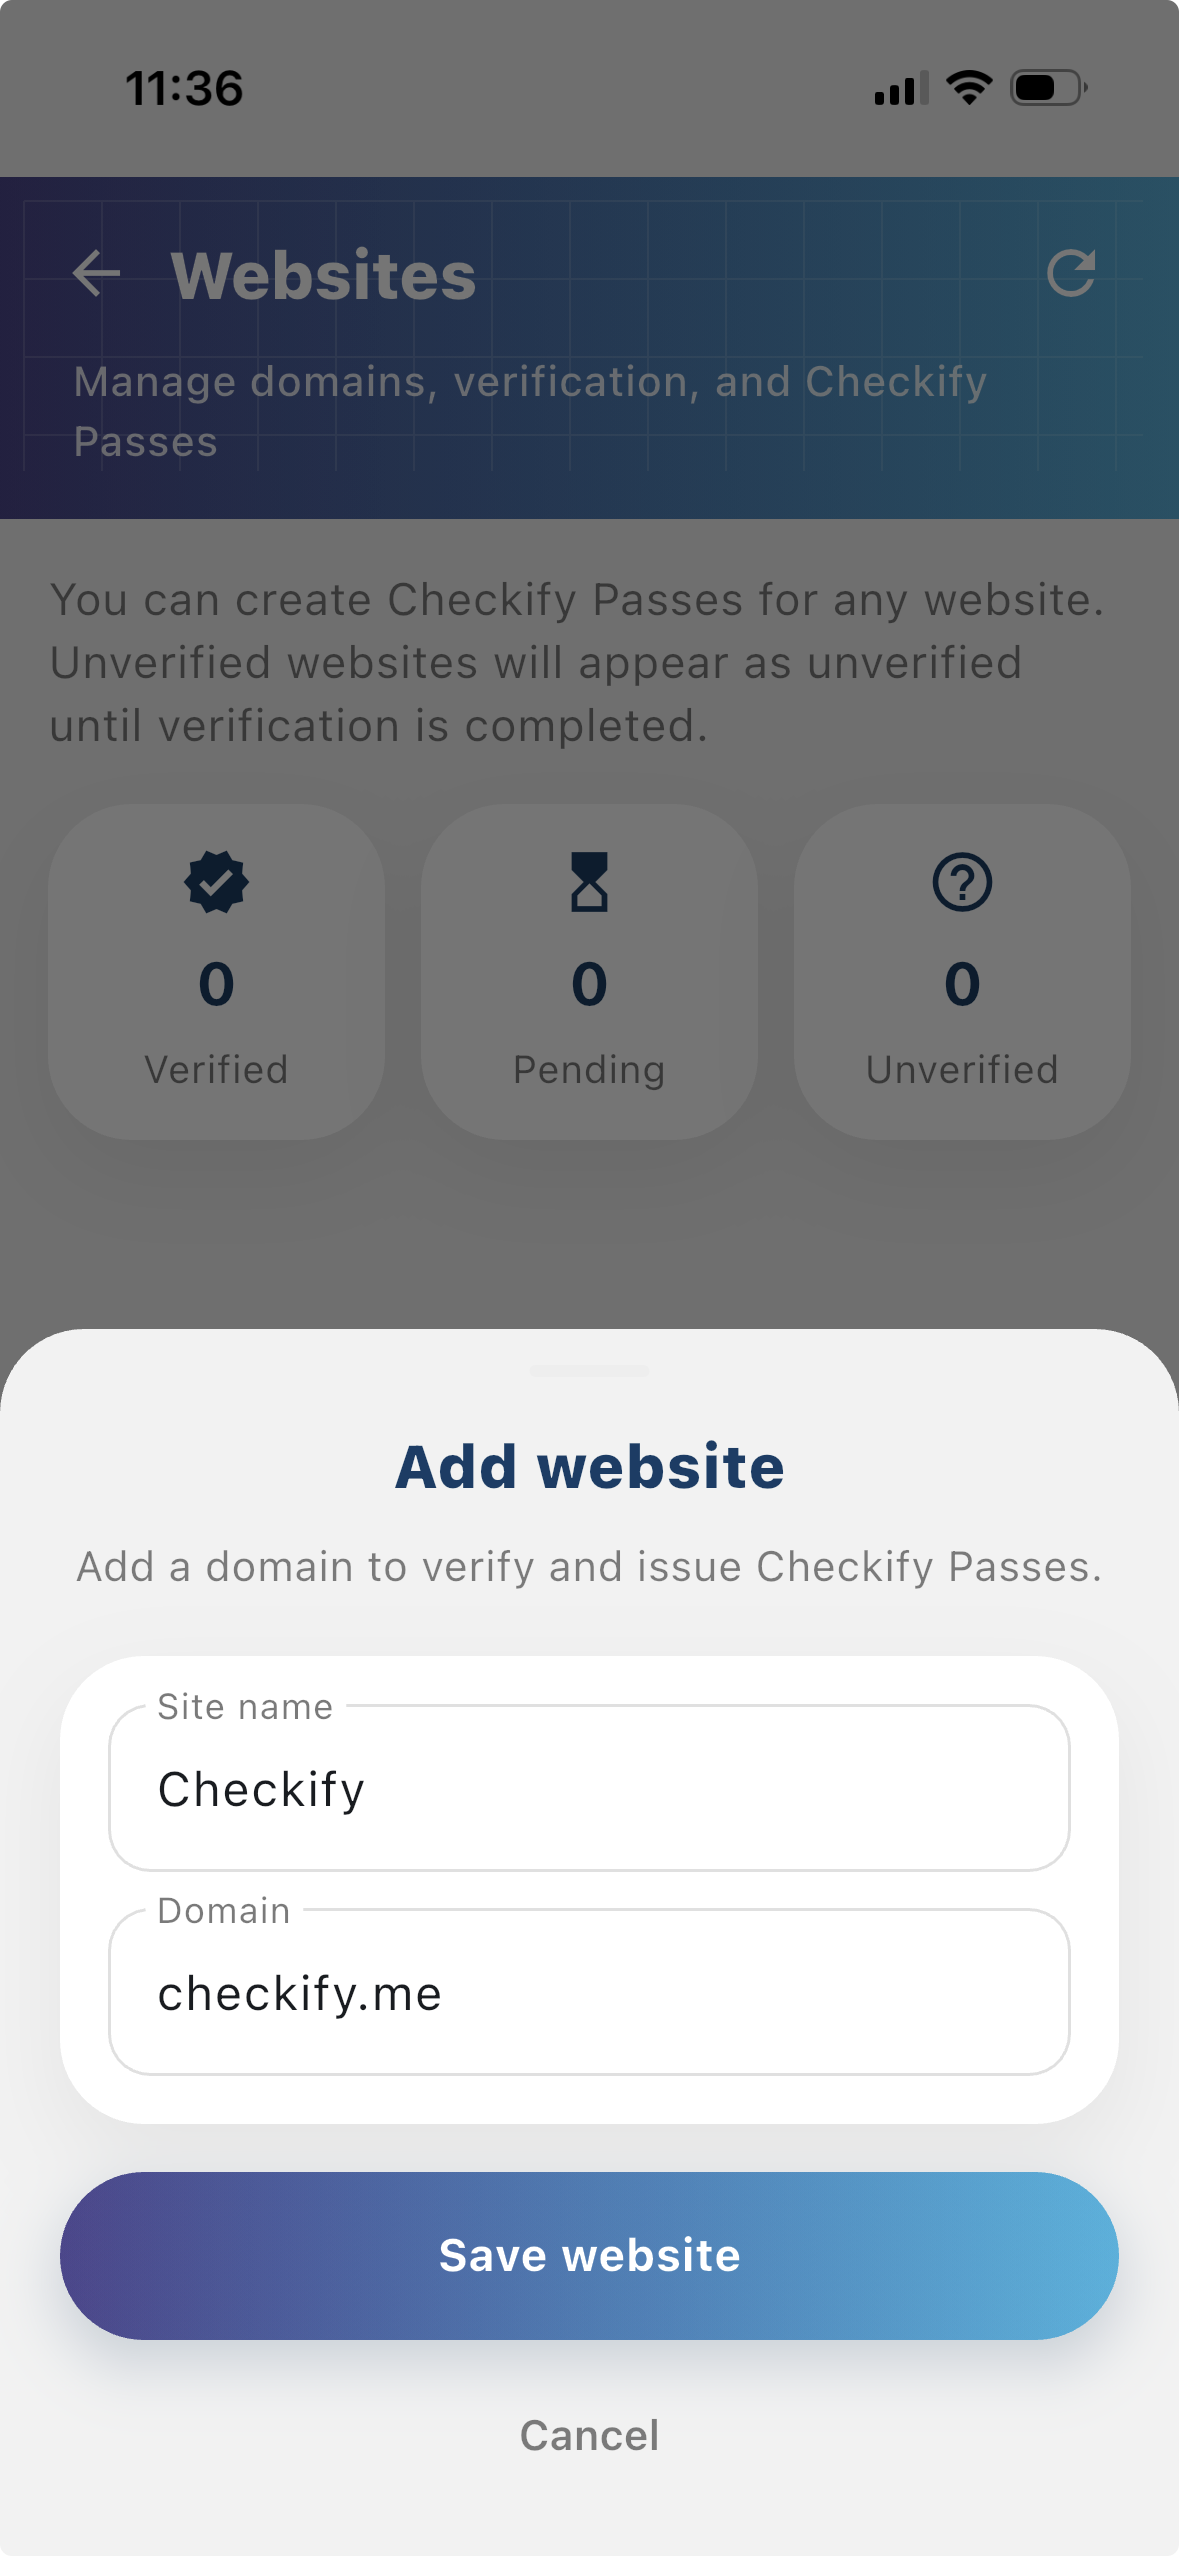
Manage sites
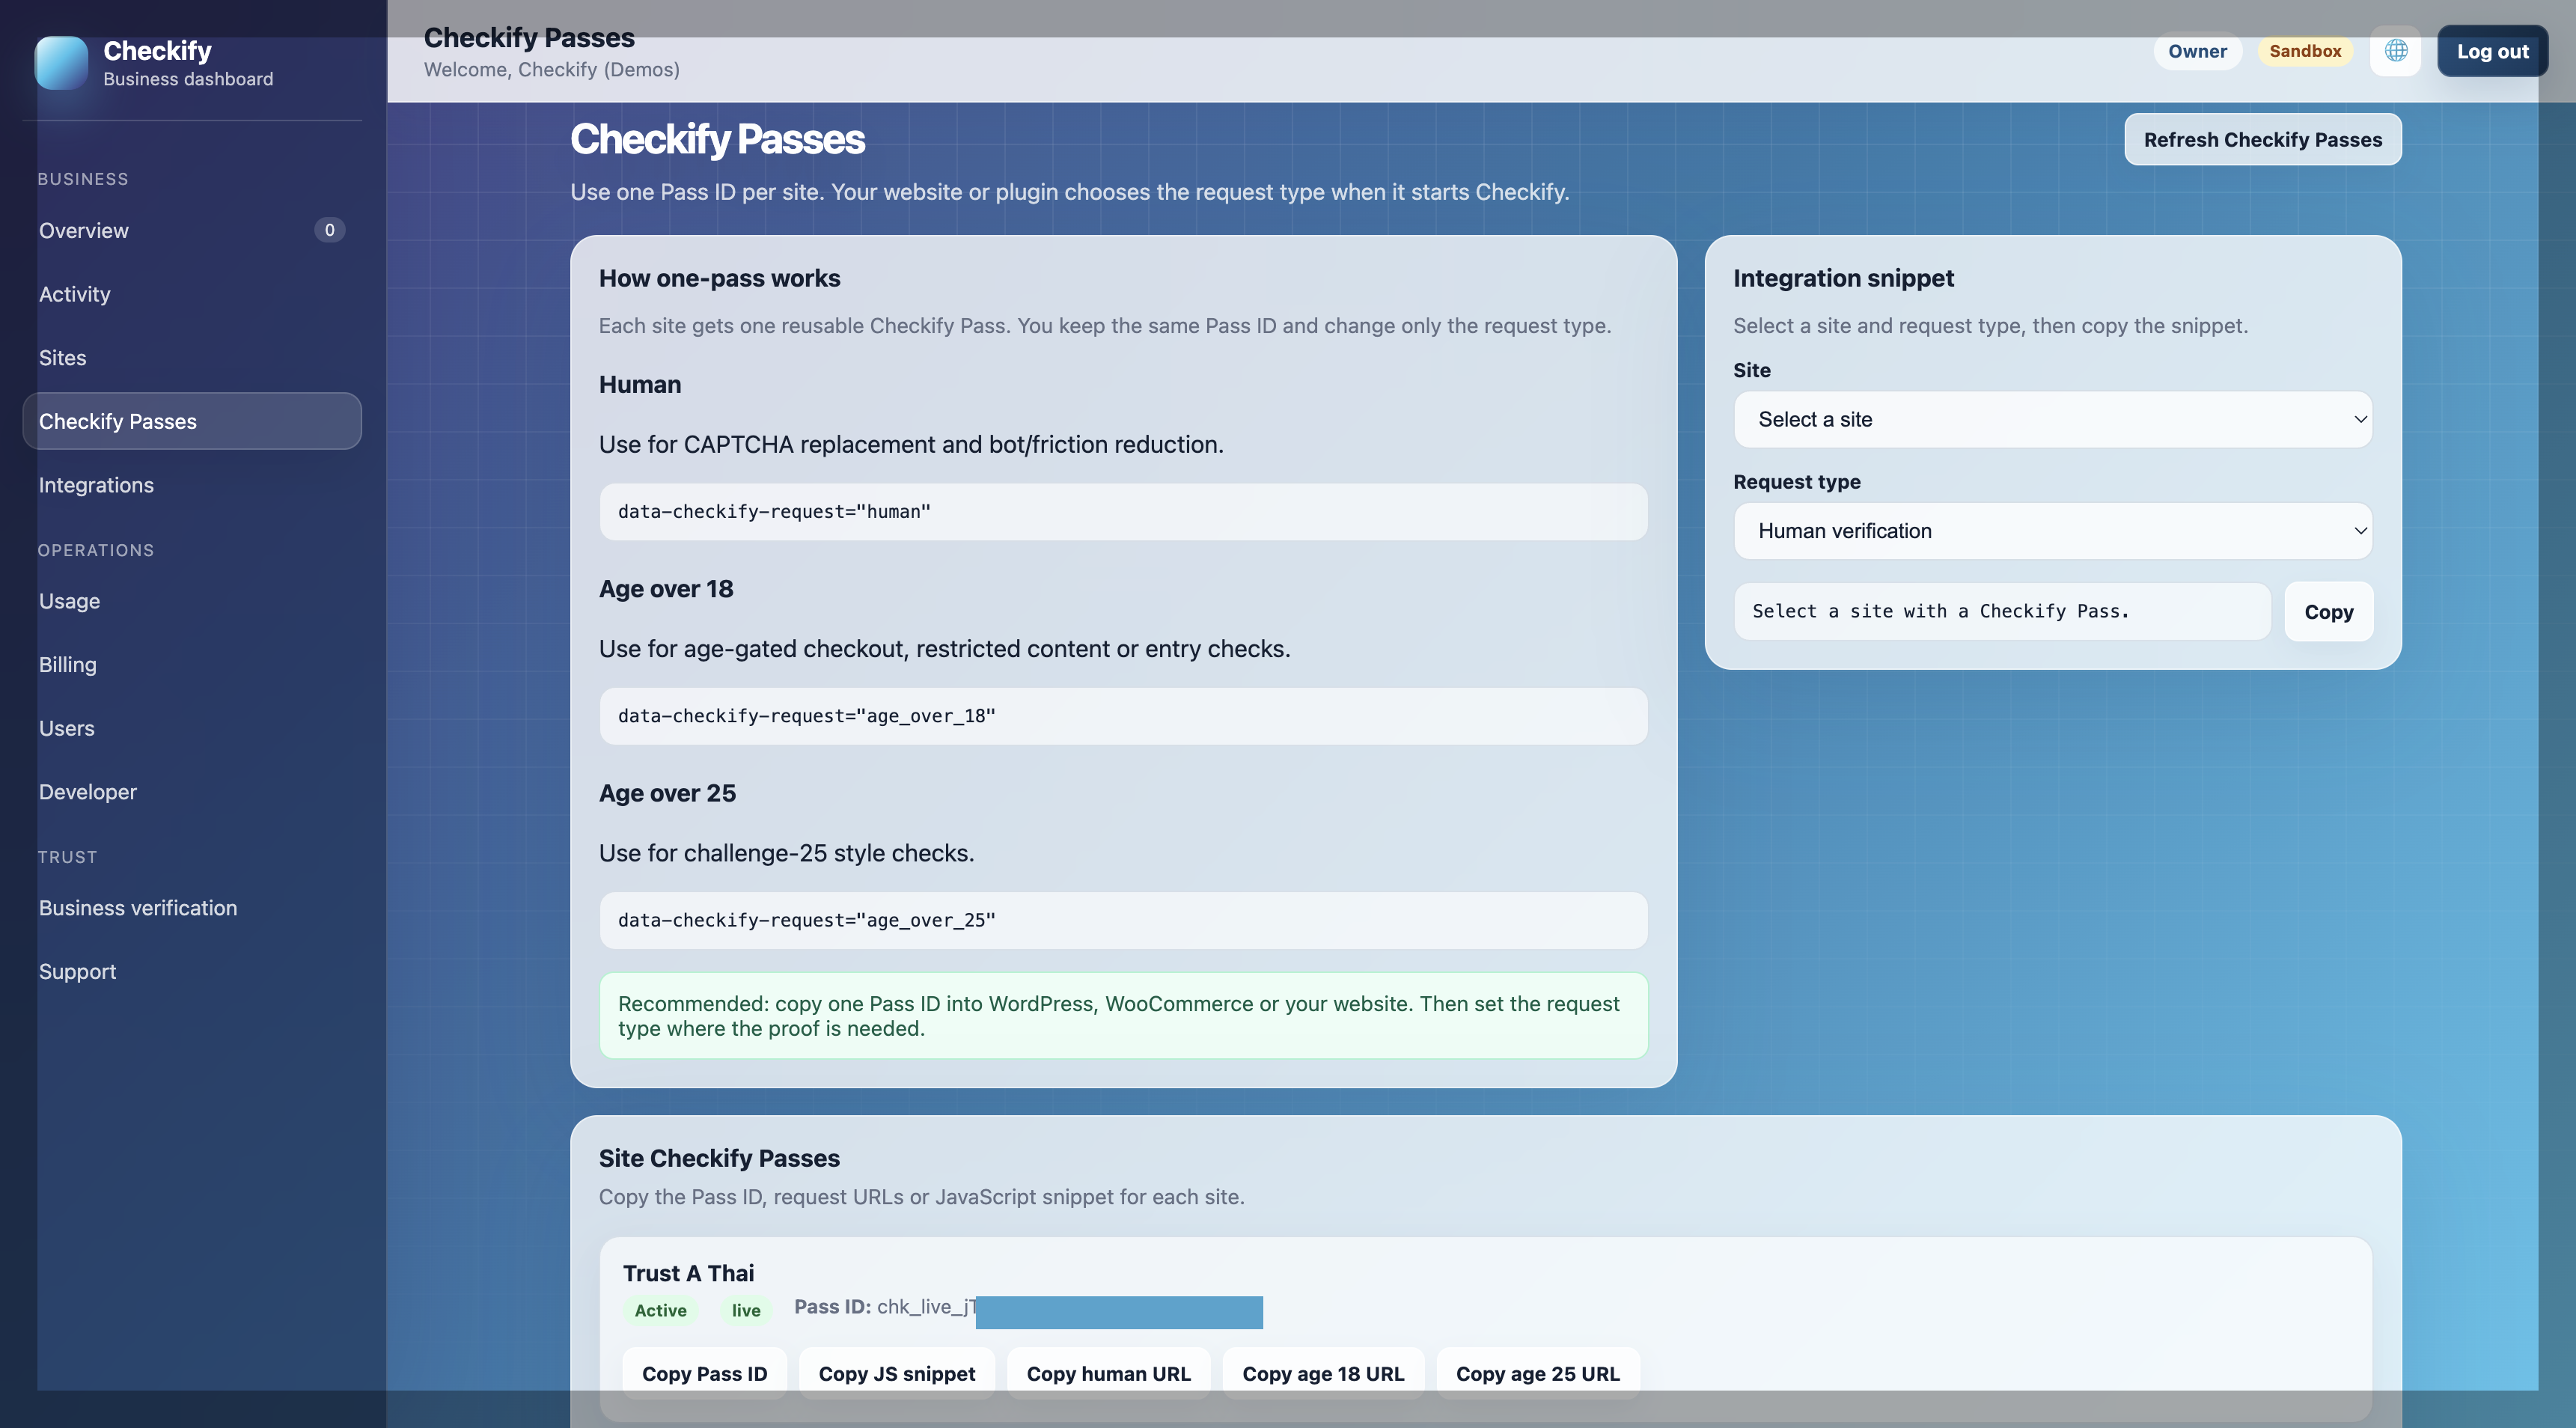
Open Settings → Manage sites. Add a website (domains + Pass ID) or a physical location (venue QR or access areas). Checkify auto-provisions one Pass per site.
Outcome: Site and Pass ready

Step 4
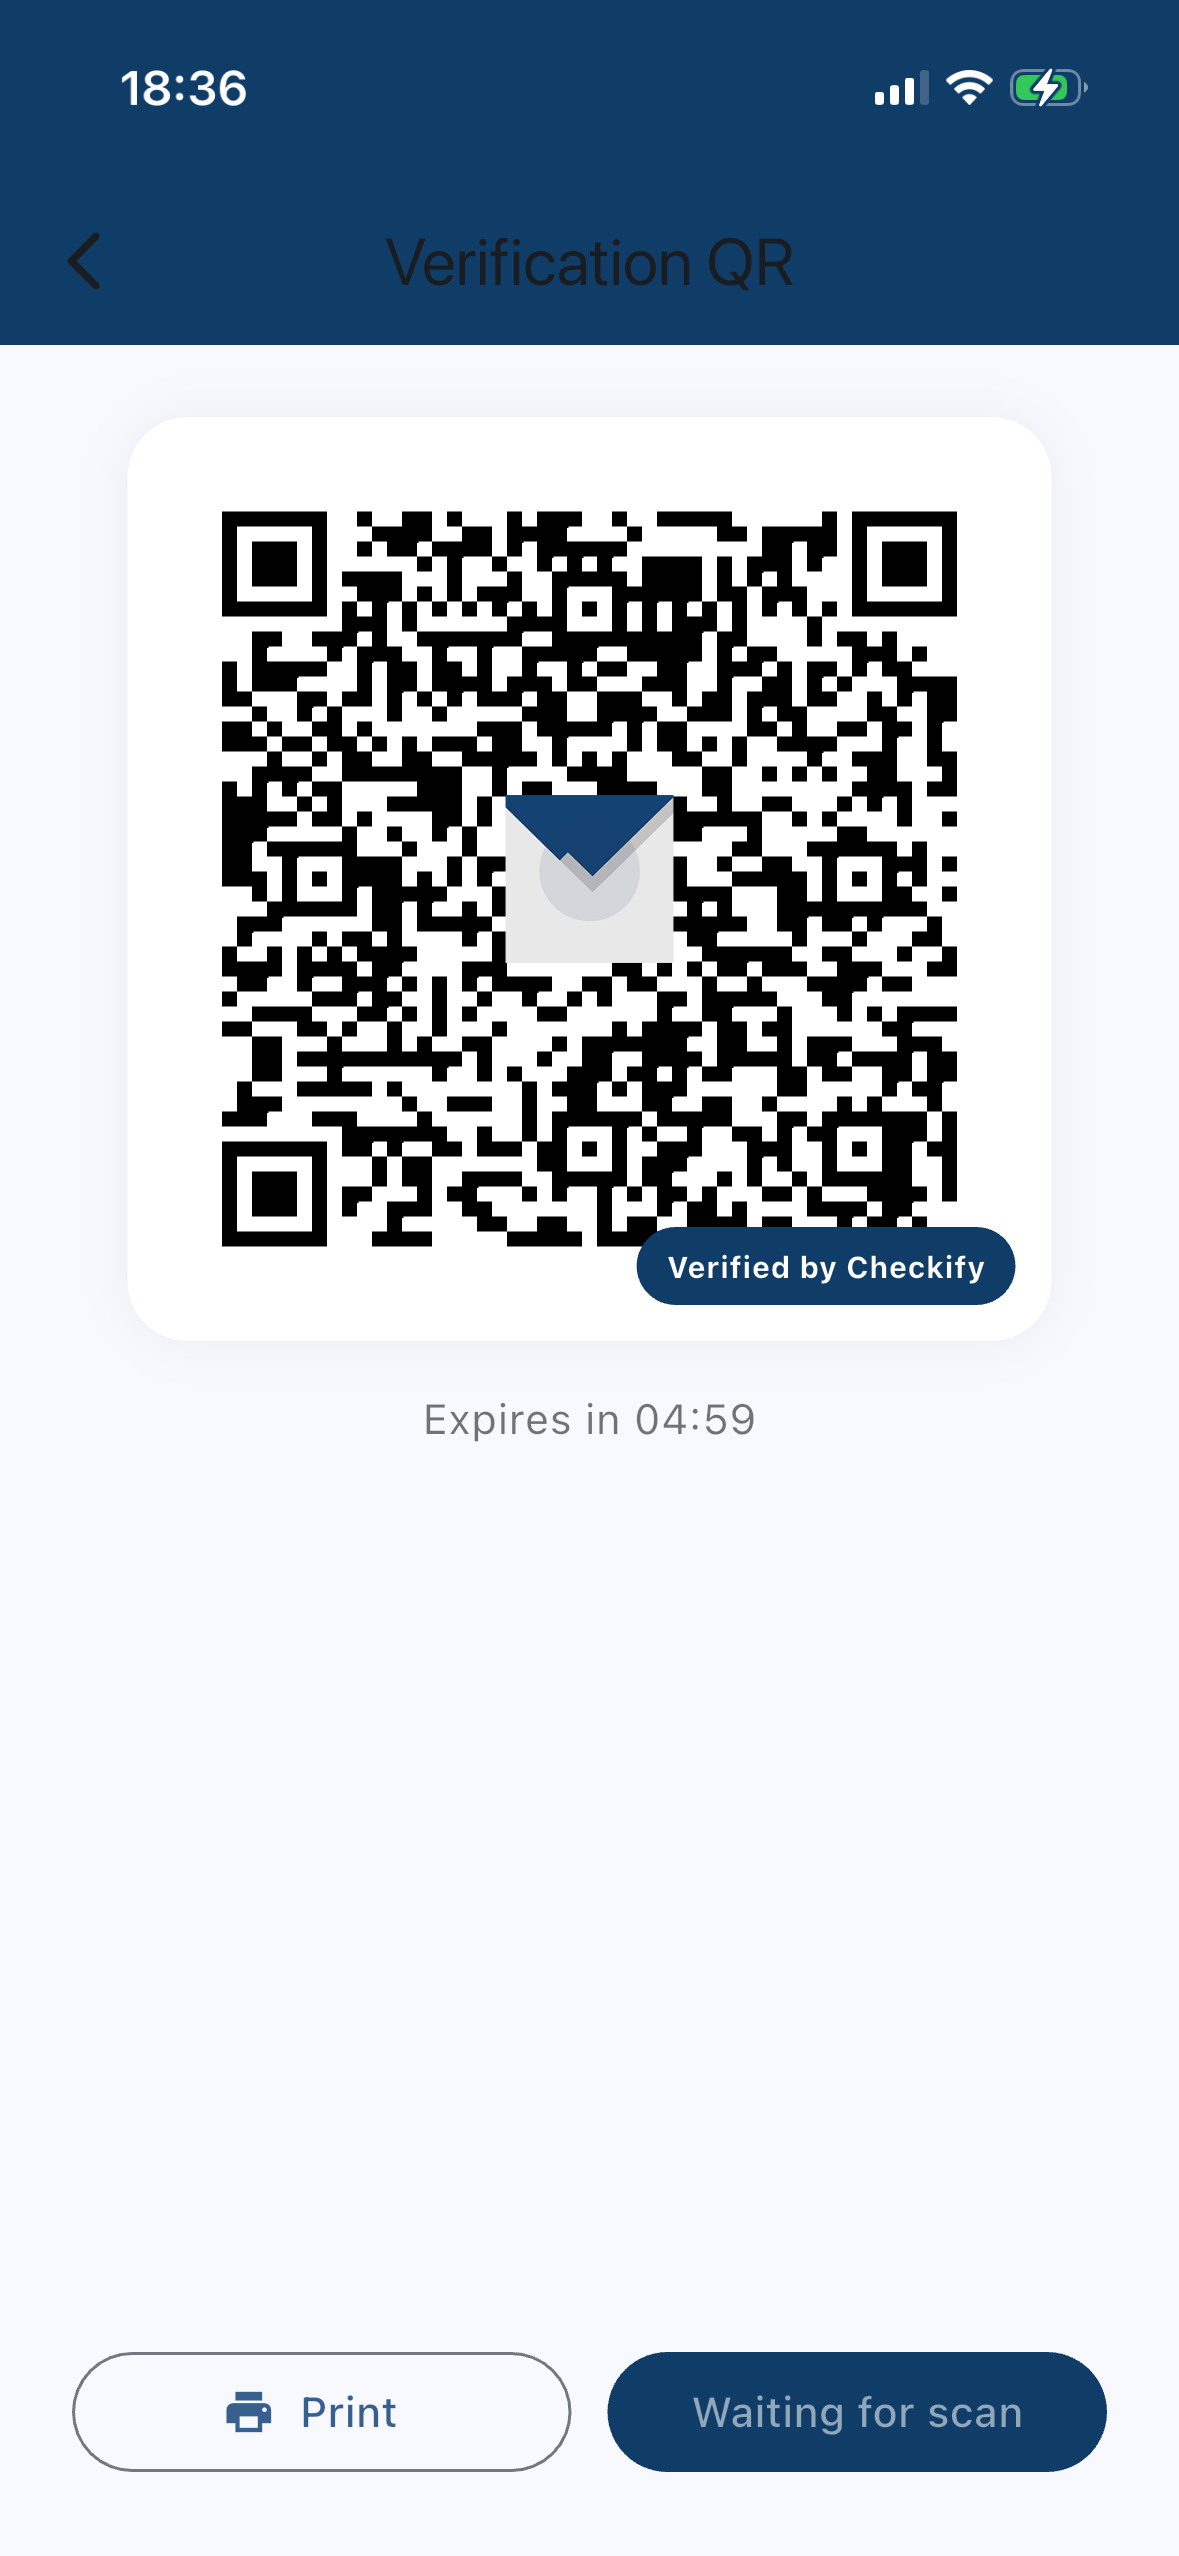
Deploy verification
Follow the physical-locations or website guide to show a QR, set up access areas, or paste your Pass ID into WordPress or your code.
Site deployment guides →